Exploring Asahi Linux: Native Linux Support for Apple Silicon Devices
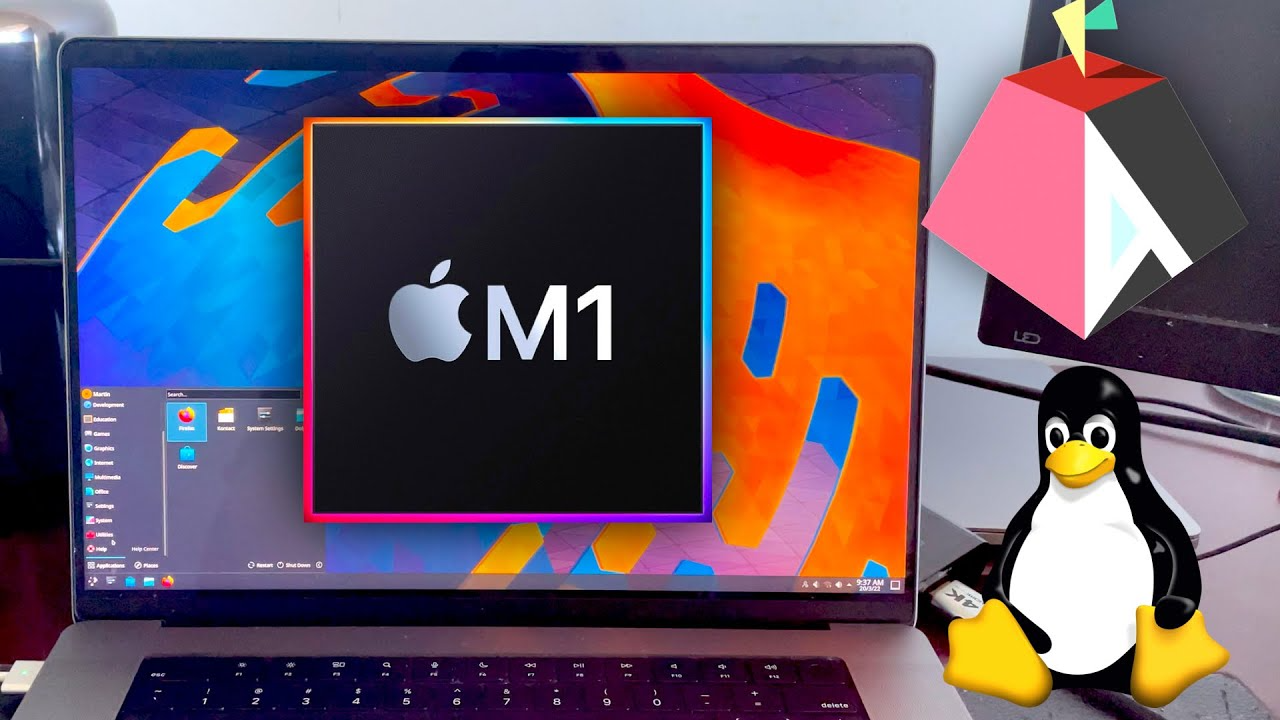
Asahi Linux is a groundbreaking project that aims to bring native Linux support to Apple Silicon devices, including the new M1 and M2 MacBooks. This initiative has garnered significant attention from the open-source community and tech enthusiasts alike, as it opens up new possibilities for using these powerful devices with a fully functional Linux operating system. In this blog post, we’ll delve into what Asahi Linux is, its significance, and how you can install it on your newer MacBook.
What is Asahi Linux?
Asahi Linux is an open-source project dedicated to porting Linux to run natively on Apple Silicon processors. The project was initiated by Hector Martin, a well-known figure in the Linux and hacking communities, with the goal of making Linux fully operational on Apple’s new ARM-based architecture. The name “Asahi” comes from the Japanese word for “rising sun,” symbolizing a new dawn for Linux on Apple hardware.
Why Asahi Linux Matters
Apple’s transition from Intel to its custom ARM-based processors (M1, M1 Pro, M1 Max, and M2) has been a game-changer in the tech industry. These chips deliver impressive performance and efficiency, but they also present challenges for running alternative operating systems due to their proprietary nature. Asahi Linux is important because:
- Openness and Flexibility: It provides an open-source alternative to macOS, allowing users to harness the full potential of their Apple Silicon devices with the flexibility and customization that Linux offers.
- Development and Research: Developers and researchers benefit from having access to a Linux environment on Apple Silicon, enabling them to work on projects that require Linux-specific tools and software.
- Community and Collaboration: The project fosters collaboration within the open-source community, bringing together developers and enthusiasts to contribute to and improve the Linux experience on Apple hardware.
Current Status of Asahi Linux
As of now, Asahi Linux has made significant progress, with many core components working on Apple Silicon devices. These include:
- Basic device support, such as USB, PCIe, and NVMe.
- Display output and keyboard/mouse input.
- Networking and storage functionalities.
- Early support for graphics acceleration.
However, it is important to note that Asahi Linux is still under active development, and some features, such as advanced power management and full GPU support, are still being refined.
How to Install Asahi Linux on Newer MacBooks
If you’re excited to try out Asahi Linux on your Apple Silicon MacBook, here’s a step-by-step guide to get you started.
Prerequisites
- Backup Your Data: As with any operating system installation, ensure you have backed up all important data.
- Prepare a USB Drive: You’ll need a USB drive with at least 16 GB of space to create a bootable installer.
Step-by-Step Installation Guide
- Download the Asahi Linux Installer:
- Visit the Asahi Linux website and download the latest installer script.
- Prepare the USB Drive:
- Use a tool like Etcher to create a bootable USB drive with the Asahi Linux installer.
- Boot into Recovery Mode:
- Restart your MacBook and hold down the Power button to enter the startup options screen.
- Select “Options” to boot into Recovery Mode.
- Disable System Integrity Protection (SIP):
- Open the Terminal from the Utilities menu in Recovery Mode.
- Run the command:
csrutil disable - Reboot your MacBook.
- Run the Asahi Linux Installer:
- Insert the bootable USB drive and reboot your MacBook, holding down the Option key.
- Select the USB drive from the startup options.
- Follow the on-screen instructions to install Asahi Linux.
- Partition Your Disk:
- During the installation process, you’ll be prompted to partition your disk. Ensure you allocate sufficient space for Asahi Linux.
- Complete the Installation:
- The installer will guide you through the remaining steps. Once the installation is complete, reboot your MacBook and select the Asahi Linux partition.
Post-Installation Steps
After installing Asahi Linux, you’ll want to perform some additional setup:
- Update the System:
- Open a terminal and run:
bash sudo apt update sudo apt upgrade
- Install Additional Drivers and Software:
- Depending on your specific needs, you may need to install additional drivers and software packages. Refer to the Asahi Linux documentation for guidance.
- Customize Your Environment:
- Customize your desktop environment and install any applications you require.
Conclusion
Asahi Linux is a remarkable project that brings the power and flexibility of Linux to Apple Silicon devices. While still in development, it has already achieved impressive milestones and continues to evolve rapidly. Installing Asahi Linux on your newer MacBook not only allows you to experience Linux on cutting-edge hardware but also supports the broader open-source community in making this a robust and versatile option for Apple users.
For the latest updates and detailed documentation, visit the Asahi Linux website. Happy exploring!


Post Comment