Installing Ubuntu on Apple Silicon MacBooks: A Step-by-Step Guide
With the introduction of Apple Silicon, the process to install Ubuntu on a MacBook has changed. Follow this updated guide for a successful installation on M1 and M2 series MacBooks.
Prerequisites
- Apple Silicon MacBook: M1, M1 Pro, M1 Max, or M2.
- A USB-C Drive: At least 16GB of storage capacity.
- Backup Your Data: Always back up your data before making changes to your system.
- Alternate OS Installation Tools: As of now, Apple Silicon MacBooks require special tools like Asahi Linux for running Linux.
Step 1: Prepare Your MacBook
Before starting the installation, ensure your MacBook is ready.
Update macOS: Ensure macOS is up-to-date.
- Go to
System Preferences > Software Update.
Backup Your Data: Use Time Machine or any other backup tool to secure your data.
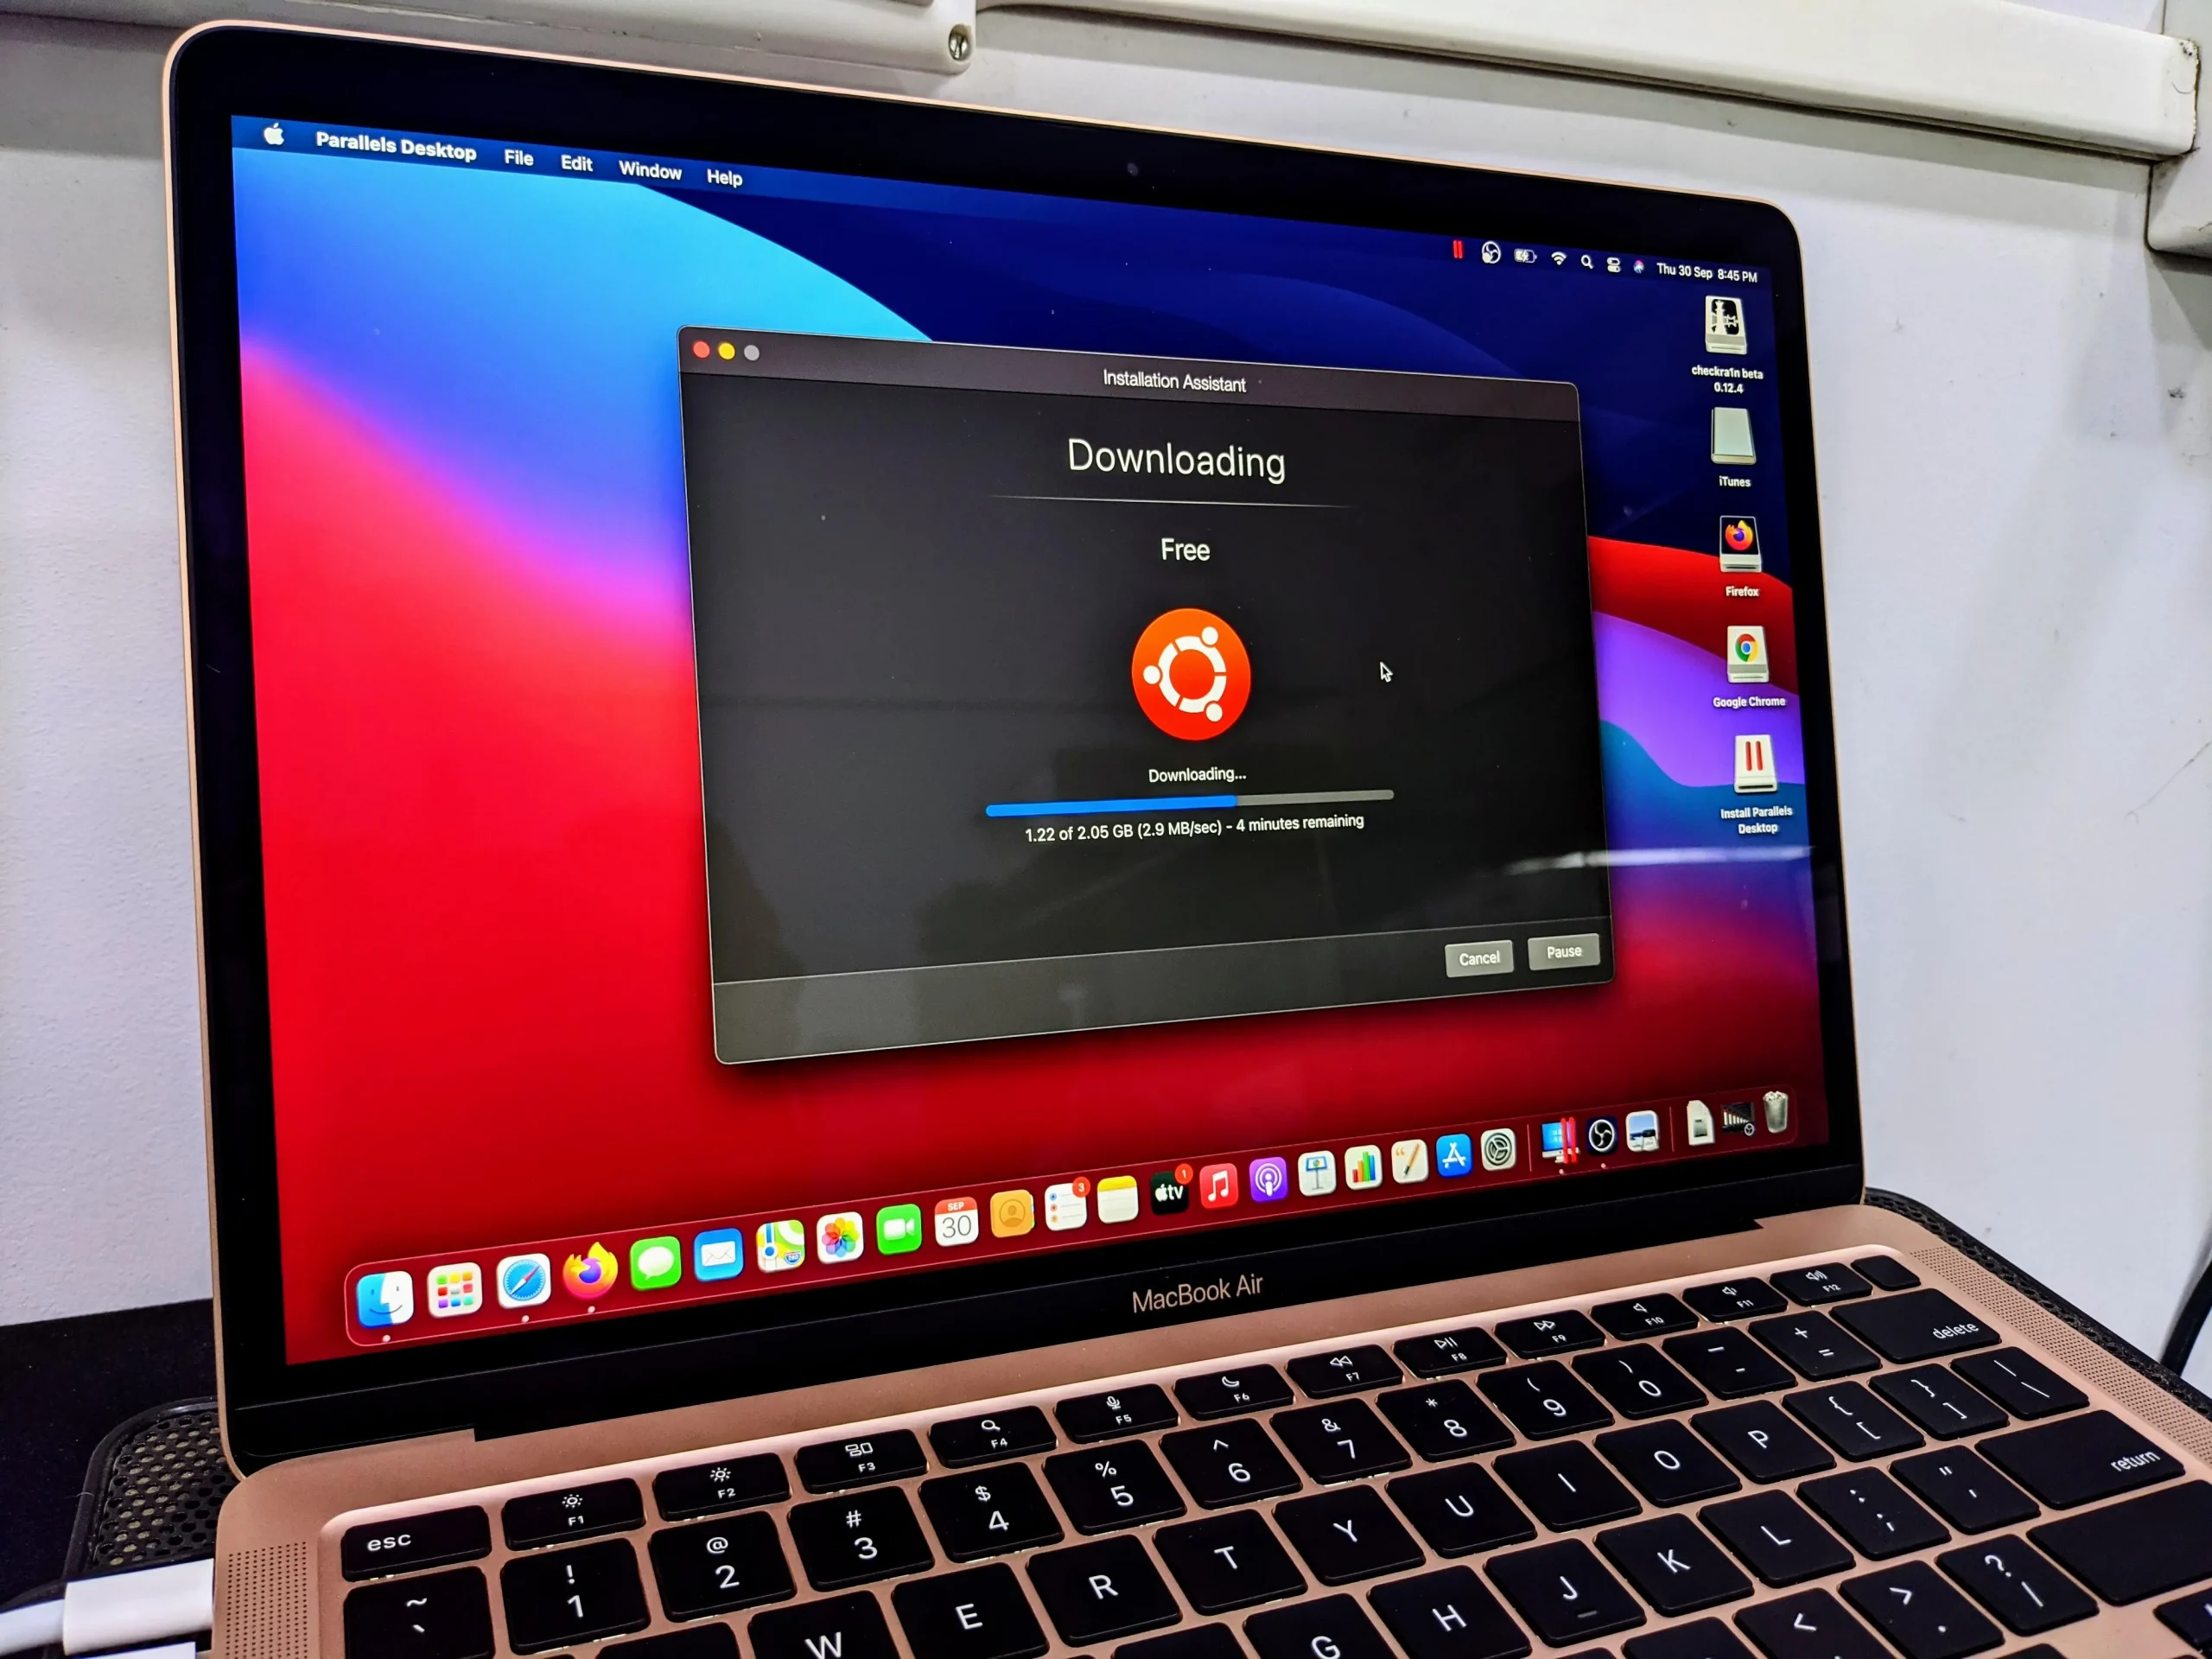
Step 2: Create a Bootable Ubuntu USB Drive
- Download Ubuntu: Get the latest Ubuntu ARM64 ISO from the official website.
- Download Etcher: A reliable tool for creating bootable USB drives. Download it from Etcher’s website.
- Create Bootable USB:
- Open Etcher.
- Select the Ubuntu ARM64 ISO file.
- Choose your USB drive.
- Click
Flashto create the bootable drive.
Step 3: Use Asahi Linux for Boot Management
Asahi Linux is a project aimed at porting Linux to Apple Silicon Macs. It provides necessary tools for boot management.
Install Asahi Linux Installer:
- Open Terminal in macOS.
- Install Homebrew if not already installed:
/bin/bash -c "$(curl -fsSL https://raw.githubusercontent.com/Homebrew/install/HEAD/install.sh)" - Install Asahi installer:
brew install asahilinux/asahi/asahi-installer - Run the installer:
asahi-installer
Follow On-Screen Instructions:
- The installer will guide you through repartitioning your disk and installing the Asahi Linux bootloader.
- Choose the partition size and other options as prompted.
Step 4: Install Ubuntu
Boot from USB:
- Insert the USB drive into your MacBook.
- Restart your Mac and hold the
Optionkey to enter the boot picker. - Select
EFI Bootfrom the USB drive.
Begin Installation:
- Choose
Try Ubuntuto test it orInstall Ubuntuto proceed with installation. - Follow the on-screen instructions.
Allocate Space:
- When asked about installation type, choose
Something else. - Find the partition created for Linux (by Asahi installer).
- Select it and click
Change. Format it toext4and set the mount point to/. - Continue with the installation.
Install GRUB: The GRUB bootloader is essential for dual-booting.
- Select the primary drive (usually
/dev/nvme0n1) to install the GRUB bootloader.
Complete Installation: Follow the remaining instructions to complete the installation.
Step 5: Post-Installation Tweaks
- Restart Your Mac: After installation, restart your MacBook and hold the
Optionkey to choose between macOS and Ubuntu. - Fix Wi-Fi and Other Issues: As drivers for Apple Silicon are still in development, you may need to use Ethernet or external adapters for network connectivity initially.
- Install Additional Drivers: Use the
Software & Updatesutility in Ubuntu to install any additional drivers for your hardware.
Tips for a Smooth Experience
- Stay Updated: Regularly update both macOS and Ubuntu to benefit from the latest fixes and features.
- Follow Asahi Linux Project: Asahi Linux is an ongoing project. Keep an eye on their updates for improved support and features.
- Backup Regularly: Regularly back up both macOS and Ubuntu to avoid data loss.
Conclusion
Installing Ubuntu on an Apple Silicon MacBook is a bit more involved due to the new architecture, but it is achievable with the help of projects like Asahi Linux. Follow these steps, and you’ll have a dual-boot setup running Ubuntu alongside macOS on your M1 or M2 MacBook.


Post Comment