amateur radio
APRS
control transceiver
digital mode
ham radio
raspberry pi
transceiver
amateur radio digital modes, APRS interface, digipi for transceiver, digipi ham radio, digipi project ham radio, ham radio open source project, open source amateur radio, radio control software ham radio, raspberry pi amateur radio, raspberry pi digital modes, raspberry pi radio control, transceiver raspberry pi
9M2PJU
6 Comments
The KM6LYW Radio DigiPi Project: A Comprehensive Guide
Introduction
In the realm of amateur radio, the need for a versatile, user-friendly, and cost-effective data transceiver has always been a driving force behind innovation. The KM6LYW Radio DigiPi Project embodies this spirit, offering a groundbreaking solution that leverages the Raspberry Pi to create an all-in-one data transceiver for various amateur radio data modes. This comprehensive guide explores the DigiPi Project, its functionalities, hardware requirements, software configurations, and community resources, providing a detailed roadmap for both enthusiasts and newcomers in the amateur radio community.
What is DigiPi?
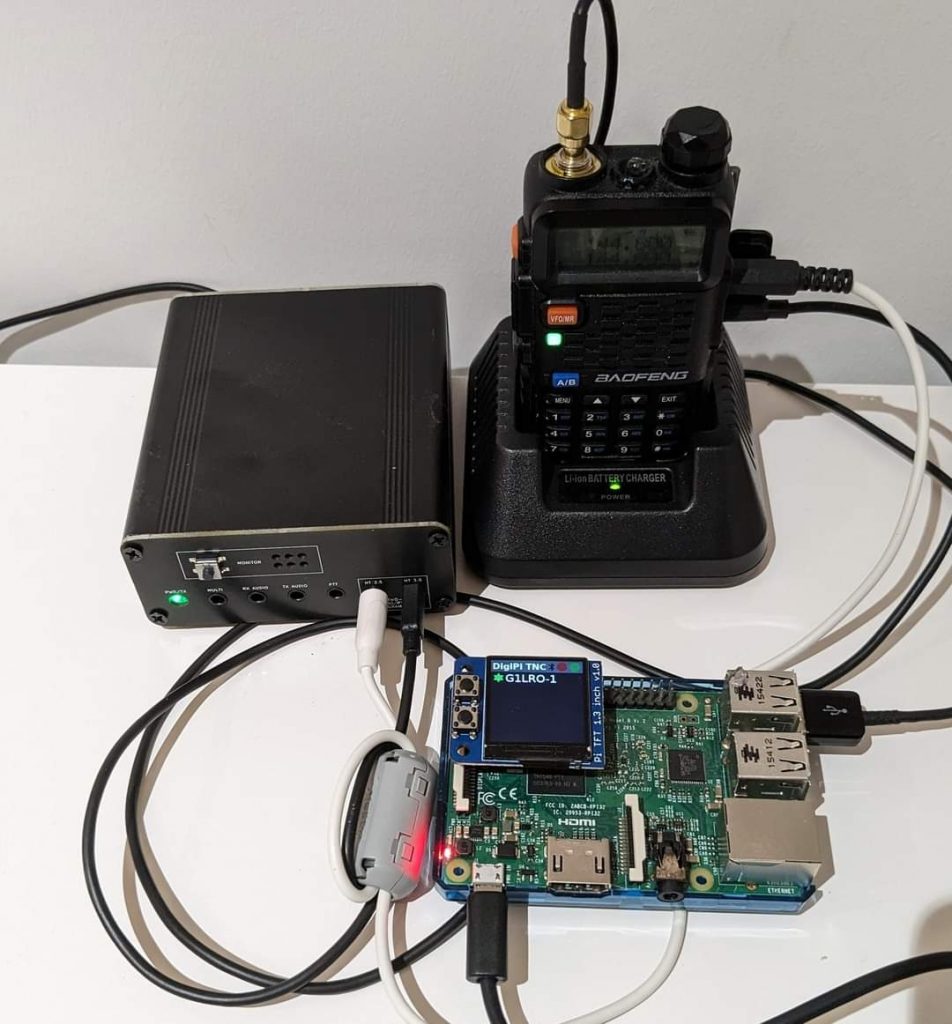
The DigiPi is a Raspberry Pi-based amateur radio data transceiver designed to handle an array of data modes, including APRS (Automatic Packet Reporting System), AX.25, Winlink email, FT8, JS8Call, Slow Scan TV, PSK31, packet radio, and CW (Continuous Wave). It is an open-source project aimed at providing a low-power, affordable, and easy-to-use solution for managing amateur radio data modes through web browsers and smartphone apps. This eliminates the need for bulky keyboards, monitors, and complex wiring, making it an ideal choice for both field operations and stationary setups.
Key Features of DigiPi
- Packet Radio Terminal Node Controller (TNC) KISS Interface: DigiPi supports KISS (Keep It Simple Stupid) mode, allowing it to interface with various open-standard KISS applications such as Xastir, YAAC, WOAD, and APRSdroid via WiFi or Bluetooth.
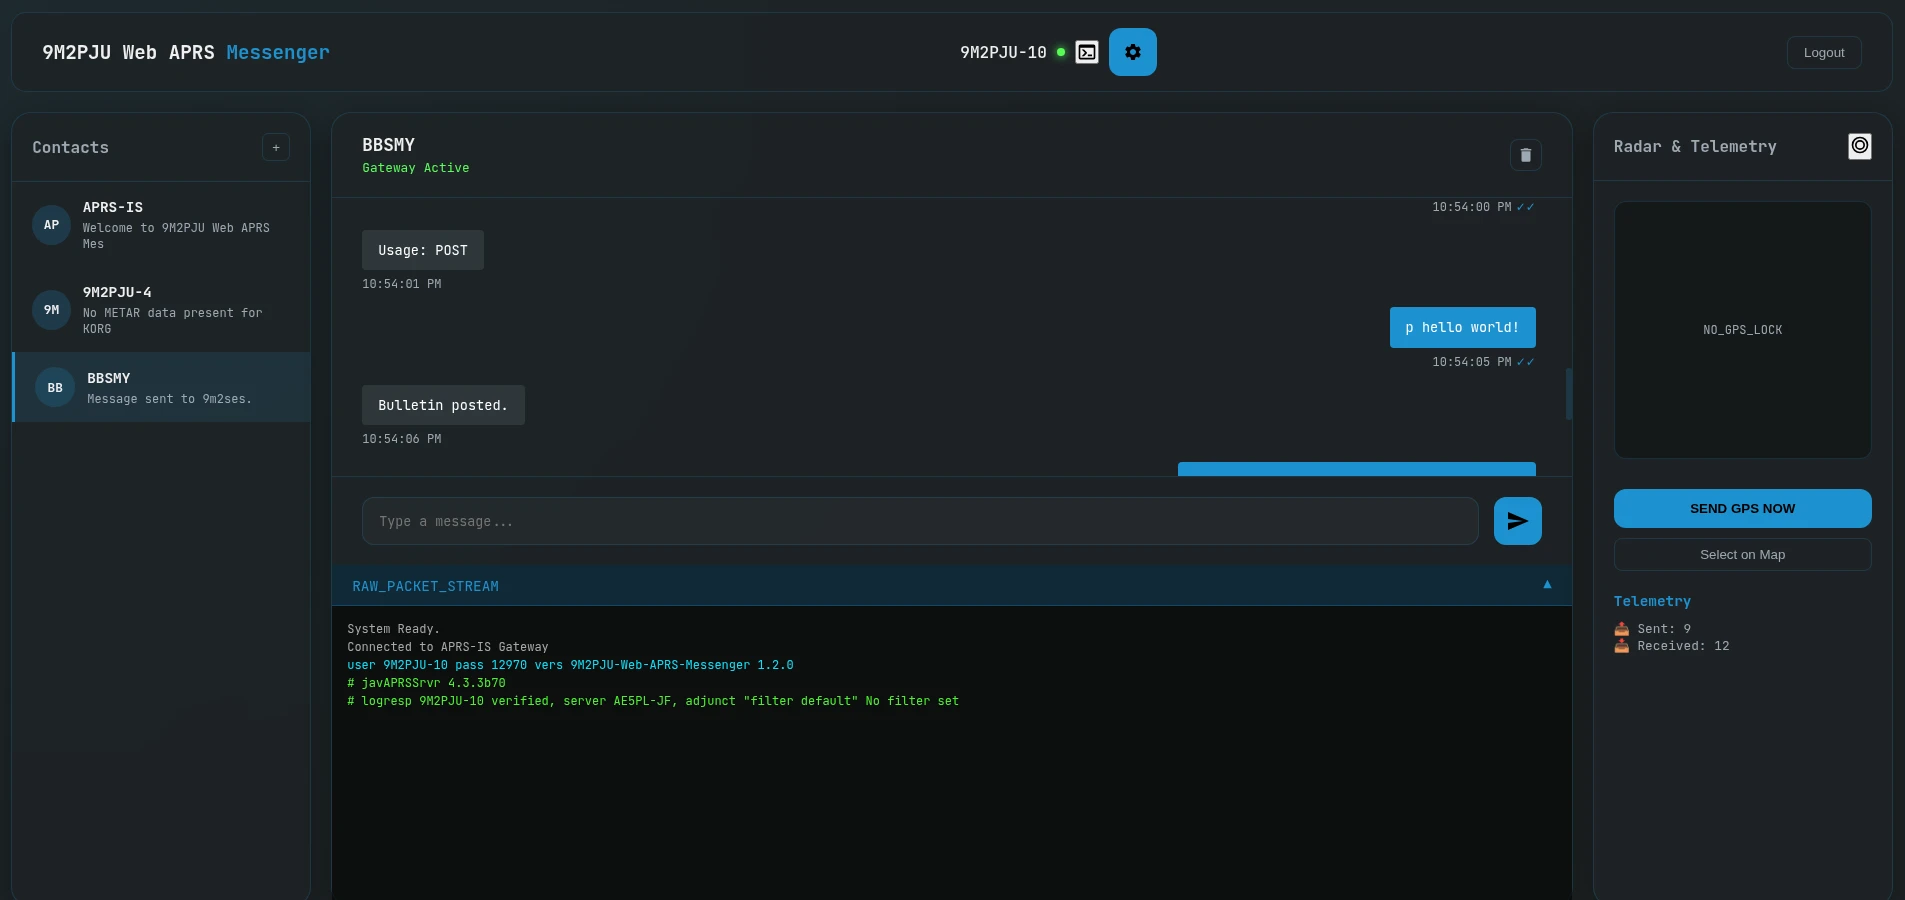
- APRS WebChat Interface: Users can send instant messages over the APRS network using a web browser, providing a convenient way to communicate in real-time.
- APRS Packet Radio Network Digipeater: DigiPi can act as a digipeater, relaying APRS packets on specific frequencies (144.390 and 144.800) to extend network coverage.
- APRS Packet Radio Network IGate: It bridges the APRS network to the internet, enabling email, SMS, and other online services.
- Winlink Email Server and Client: The DigiPi integrates with Winlink, allowing users to send and receive emails through Winlink radio clients. It also supports ARDOP (Amateur Radio Digital Open Protocol) for HF band communications and the WOAD Android app for wireless TNC/KISS connectivity.
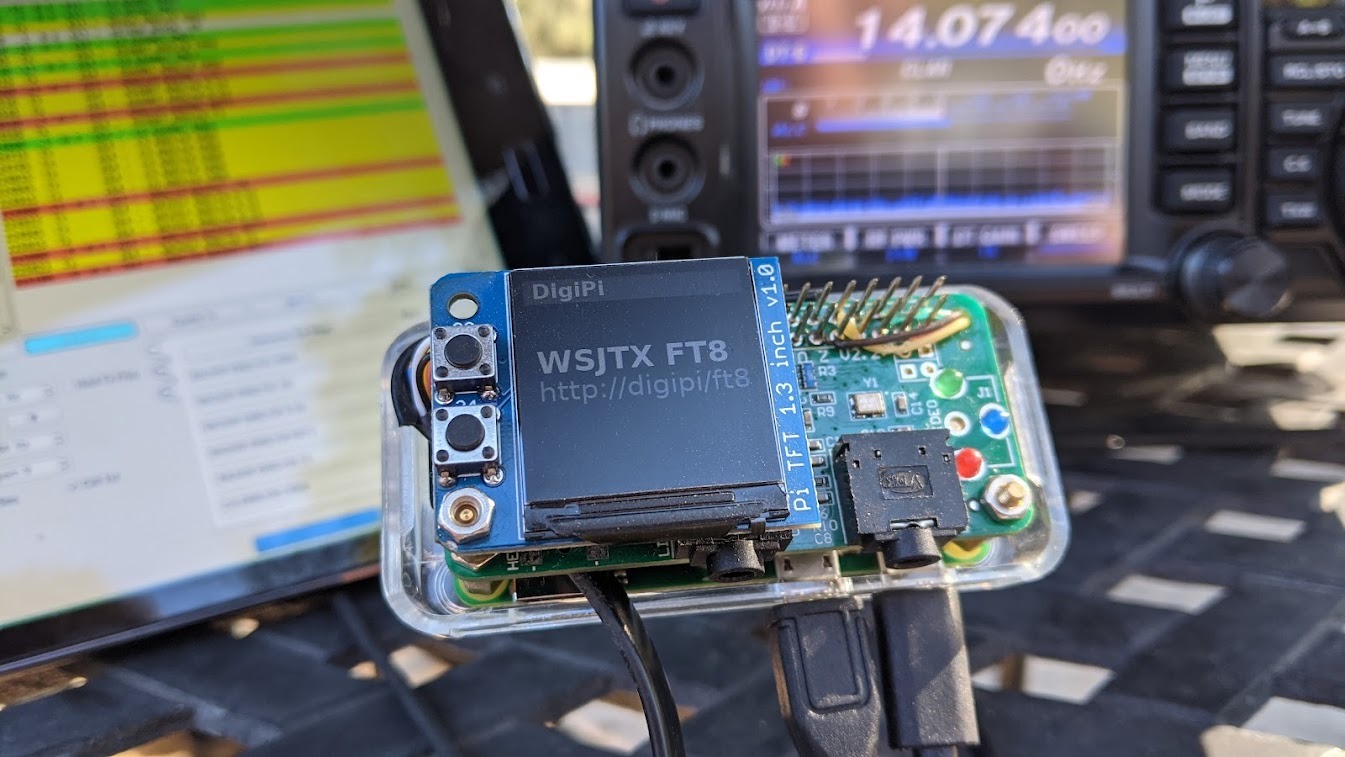
- WSJTX FT8 and JS8Call: These modes enable ultra-low signal-to-noise ratio contacts via web browsers, WiFi, or phone interfaces.
- FLDigi: Supports a wide range of digital modes including CW, PSK31, RTTY, Contessa, FSQ, Hell, IFKP, MFSK, MT63, Olivia, PSK, QPSK, 8PSK, PSKR, THOR, Throb, and WeatherFax.
- Slow Scan TV: Enables the sending and receiving of images via web browsers, WiFi, or phones.
- AX.25 Networking: Facilitates radio-connected networking protocols used for Winlink and node services, including IP tunneling with amateur radio addresses.
- Node Services: Users can run their own bulletin board or messaging services and connect to other nodes via intermediate nodes.
Hardware Requirements
The DigiPi Project supports various Raspberry Pi models including the Pi Zero, Pi Zero 2W, Pi3, Pi4, and Pi5. Depending on the type of radio equipment used, additional components may be required.
Essential Components
- Raspberry Pi: A Pi Zero 2W is recommended for its compact size and affordability, but other models are also compatible.
- Audio Board:
- Fe-Pi Audio Z v2: Priced at around $24, this audio board is compatible with a wide range of radio equipment.
- Audio Injector Z: Priced at approximately $20, it requires editing
/boot/config.txtto enable.
- Push-to-Talk (PTT) Circuit:
- FET and Resistor: A 2N7000 N-Channel FET and a 100K resistor are required for creating a PTT circuit. These components are relatively inexpensive and readily available.
- Optional Components:
- TFT Display: An Adafruit 1.3″ TFT display ($16) or a larger 2.8″ ILI9341 display ($45) can be used for visual feedback.
- LEDs: Optional LEDs for transmit, receive, and Bluetooth indicators are available for around $9.
- Ferrite Bead: Used to reduce electromagnetic interference around the wires connecting the radio to the audio board.
Hardware Configuration
The DigiPi hardware setup involves either a PTT-circuit build or a USB-connected build, depending on the type of radio used. Radios with USB ports (e.g., Icom IC-7300, Yaesu FT-991, Icom IC-705) require only the Raspberry Pi and a USB cable. For radios without USB ports, additional components such as the audio board and PTT circuit are necessary.
Building the PTT Circuit
For radios that require a traditional PTT circuit, you’ll need to construct a simple PTT circuit using the 2N7000 FET and a 100K resistor. Detailed wiring diagrams are available to guide the assembly process. The Fe-Pi Audio Z v2 board is compatible with a broad range of radios, while the Audio Injector Zero is better suited for radios with higher audio output levels.
USB-Cable Connections
Radios with USB connectivity simplify the setup process. You only need a USB OTG cable to connect the Raspberry Pi to the radio, bypassing the need for additional audio boards or PTT circuits.
Software Configuration
The DigiPi software configuration process involves flashing an SD card with the DigiPi image, configuring network settings, and setting up the DigiPi interface.
Flashing the SD Card
- Download and Unzip: Obtain the DigiPi image file and unzip it using a tool such as
unzipon Linux or appropriate utilities on Windows and Mac. - Flash the Image:
- On Linux: Use the
ddcommand to flash the image to the SD card. - On Windows and Mac: Use recommended tools for SD card flashing.
- Boot the Raspberry Pi: Insert the flashed SD card into the Raspberry Pi and power it on.
Initial Setup
- Connect to DigiPi Hotspot: The DigiPi will broadcast a WiFi hotspot named “DigiPi” with the default password “abcdefghij.” Connect your device to this hotspot.
- Configure WiFi: Visit
http://10.0.0.5/wifi.phpin a web browser to enter your home WiFi SSID and password. Reboot the DigiPi to connect it to your home network. - Access the DigiPi Interface: Once connected to your home network, access the DigiPi web interface at
http://digipi/. If the host is not found, check your router’s connected devices for the DigiPi’s IP address. - Initialize the System: Click the “Initialize” link on the DigiPi web interface to configure your callsign, passwords, grid squares, and other localization settings.
Configuration Files
The DigiPi configuration files are located in /home/pi/localize.sh. Modifications to these files can be made directly if necessary. Future versions of DigiPi will allow changes through the web interface.
Community and Support
The DigiPi Project is community-driven and open-source. Support and updates are available through various channels:
- Discord: Join the DigiPi live chat on Discord.
- Google Groups: Participate in discussions on the DigiPi Google Group.
- Groups.io: Access the old/deprecated list for additional information.
- YouTube: Watch step-by-step hardware and software configuration videos on the KM6LYW Radio YouTube channel.
Additional Information
- Default Password: The default password for the “pi” user is “raspberry.”
- Filesystem: The DigiPi filesystem is read-only to prevent SD card wear. To make modifications, use
sudo remount. - Bluetooth Pairing: Pair Bluetooth devices using
bluetoothctlcommands. - Display: Configure the TFT display and use it to start igate or digipeater services.
For those seeking a deeper dive into the DigiPi Project, the KM6LYW Radio YouTube channel offers a valuable resource. The channel features a series of step-by-step instructional videos that cover everything from the initial hardware assembly to detailed software configuration. These videos guide viewers through the entire process, providing visual demonstrations of building the PTT circuit, setting up the audio board, flashing the SD card, and configuring network settings. By following these tutorials, you can gain practical insights and troubleshooting tips to ensure a smooth setup and optimal performance of your DigiPi system. For a comprehensive understanding and hands-on guidance, exploring these YouTube videos is highly recommended.
Conclusion
The KM6LYW Radio DigiPi Project represents a significant advancement in amateur radio technology, providing a versatile and user-friendly platform for managing various data modes. Whether you are a seasoned operator or a newcomer, the DigiPi offers a powerful toolset for enhancing your amateur radio experience. By following this comprehensive guide, you can successfully build, configure, and operate your own DigiPi setup, contributing to the growing community of amateur radio enthusiasts.


6 comments