network time protocol
raspberry pi
Time Synchronization
atomicclock, chrony, DIYtech, embeddedlinux, gps, gpsd, hamradio, IoT, linux, MakerProject, networktime, ntp, openhardware, opensource, pps, preciseclock, RaspberryPi, stratum1, TechBlog, timeserver, timesync, timesynchronization
9M2PJU
0 Comments
Understanding Network Time Protocol (NTP), Atomic Clocks, and GPS: How Precise Timekeeping Powers the Modern World
In the digital age, accurate timekeeping is more critical than ever. From ensuring data consistency across global servers to enabling GPS navigation and military operations, the precision of our clocks underpins modern infrastructure. This post explores how Network Time Protocol (NTP), atomic clocks, and the Global Positioning System (GPS) work together to synchronize time around the world—and what stratum levels really mean in timekeeping hierarchy.
🕒 What Is Network Time Protocol (NTP)?
NTP (Network Time Protocol) is a protocol used to synchronize the clocks of computers and devices over a network. It allows systems to keep time within milliseconds of Coordinated Universal Time (UTC), which is the global time standard.
NTP works using a hierarchical structure of stratum levels, with each level representing the “distance” from the reference clock (usually an atomic clock or GPS-based source).
📶 How NTP Works
Here’s a simplified overview of the process:
- A client computer sends a request to an NTP server.
- The NTP server responds with the current time along with information about when the request was received and replied to.
- The client calculates the round-trip delay and clock offset.
- The local clock is adjusted accordingly, either gradually or immediately.
This process often repeats at regular intervals to maintain synchronization.
🧱 Understanding NTP Stratum Levels
NTP servers are organized into strata based on how close they are to the original time source:
- Stratum 0: These are the reference clocks—usually atomic clocks, GPS receivers, or radio clocks. They don’t connect directly to the internet.
- Stratum 1: Servers directly connected to stratum 0 devices. These are often publicly available NTP servers and offer highly accurate time.
- Stratum 2: Servers that sync with stratum 1 servers. Most users rely on these.
- Stratum 3–15: Each additional level syncs from the level above, with increasing latency and reduced accuracy.
- Stratum 16: Designated for unsynchronized servers or devices.
💡 Example:
If your Raspberry Pi is syncing from time.google.com (a stratum 1 server), your device becomes a stratum 2 client.
⏱️ What Is an Atomic Clock?
An atomic clock is the most precise timekeeping device available. It uses the natural oscillations of atoms—commonly cesium-133 or rubidium—as a reference.
Key Characteristics:
- Accuracy: Can measure time with precision better than 1 second in millions of years.
- Stability: Remains extremely consistent over long periods.
- Use Cases: GPS satellites, NTP stratum 0 devices, scientific labs, telecom networks.
The international definition of one second is based on the radiation cycles of cesium-133:
9,192,631,770 transitions = 1 second
🛰️ How GPS Provides Accurate Time
The Global Positioning System (GPS) is not just for navigation—it’s also a precise time distribution network. Each GPS satellite contains multiple atomic clocks. When your GPS receiver locks onto satellites, it can:
- Determine location using trilateration
- Calculate the exact time from satellite signals
GPS Time vs UTC:
- GPS time started in 1980 and does not account for leap seconds, unlike UTC.
- GPS receivers convert GPS time to UTC using data in the satellite’s almanac.
For time servers, GPS receivers act as Stratum 0 sources, making GPS-based NTP servers (Stratum 1) popular for time-critical systems.
🛠️ Real-World Applications
| Field | Application |
|---|---|
| Telecom | 4G/5G networks use NTP or PTP (Precision Time Protocol) for synchronization. |
| Military | GPS-based timing for secure communications, missile launches, and coordination. |
| Finance | Timestamps for trades and transactions require sub-millisecond accuracy. |
| IT/Cloud | Data centers rely on NTP for distributed logs, certificates, and system clocks. |
| Ham Radio | Tools like WSJT-X, FT8, and APRS depend on accurate system clocks. |
⛓️ When Accuracy Matters
A tiny time drift can cause:
- Log mismatch in security systems
- Transaction failures in banking
- Packet loss or desync in VoIP and online gaming
- Routing issues in network infrastructure
Thus, reliable NTP configuration, ideally syncing from multiple stratum 1 servers or running your own GPS-based server, is best practice for critical systems.
📍 Summary
| Component | Role |
|---|---|
| Atomic Clock | Master reference for defining the second |
| GPS | Delivers accurate time from satellites to Earth |
| NTP | Protocol to synchronize clocks across networks |
| Stratum Level | Indicates distance from reference clock source |
Together, atomic clocks, GPS, and NTP form a robust global timekeeping system that powers everything from Google’s servers to battlefield operations and your APRS messages.
🔧 Build Your Own Stratum 1 NTP Server (Raspberry Pi + GPS + Chrony)
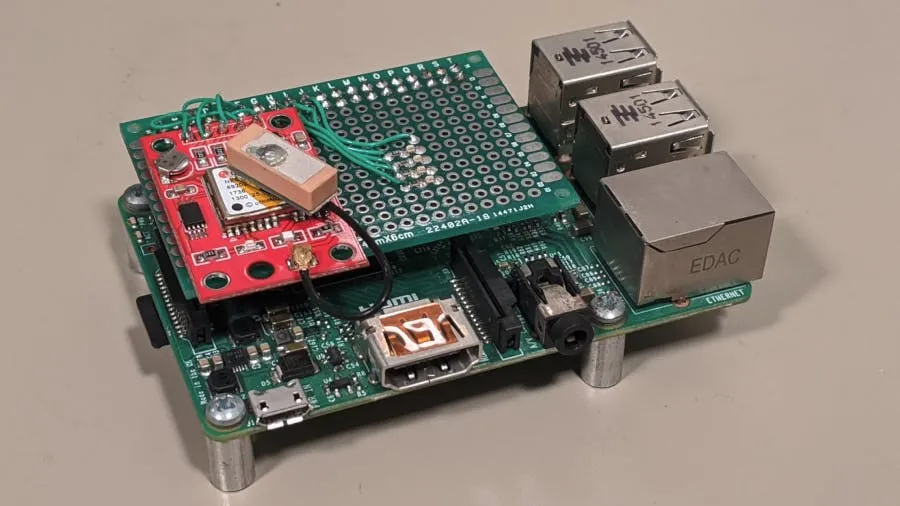
Creating your own Stratum 1 NTP server is a rewarding project, especially for ham radio operators, makers, and sysadmins who want reliable, low-latency timekeeping without relying on the internet.
🧰 What You Need:
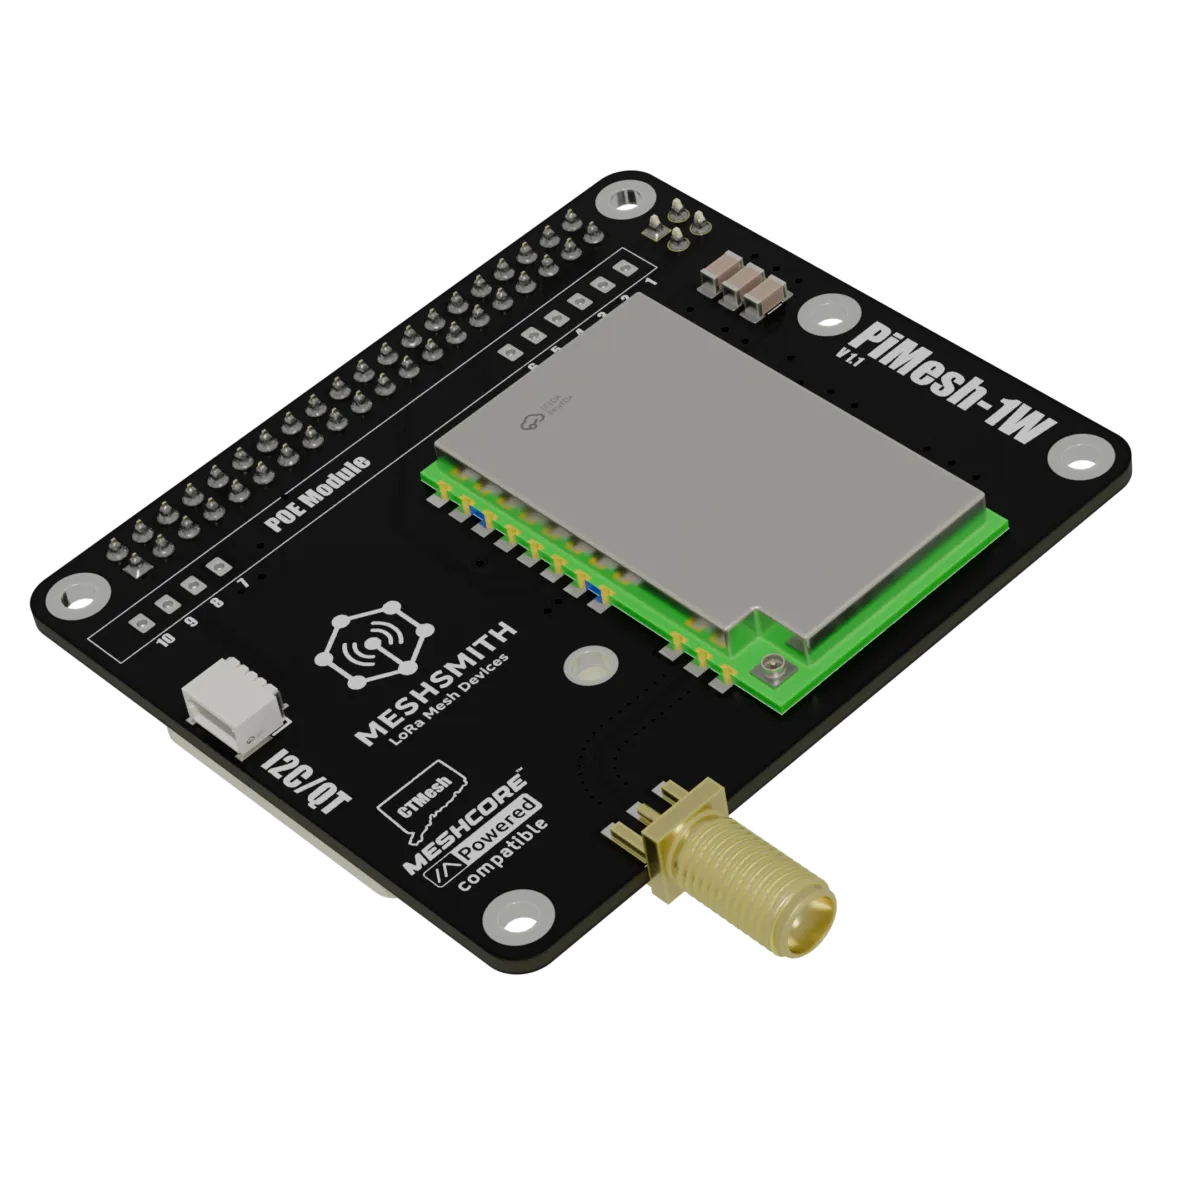
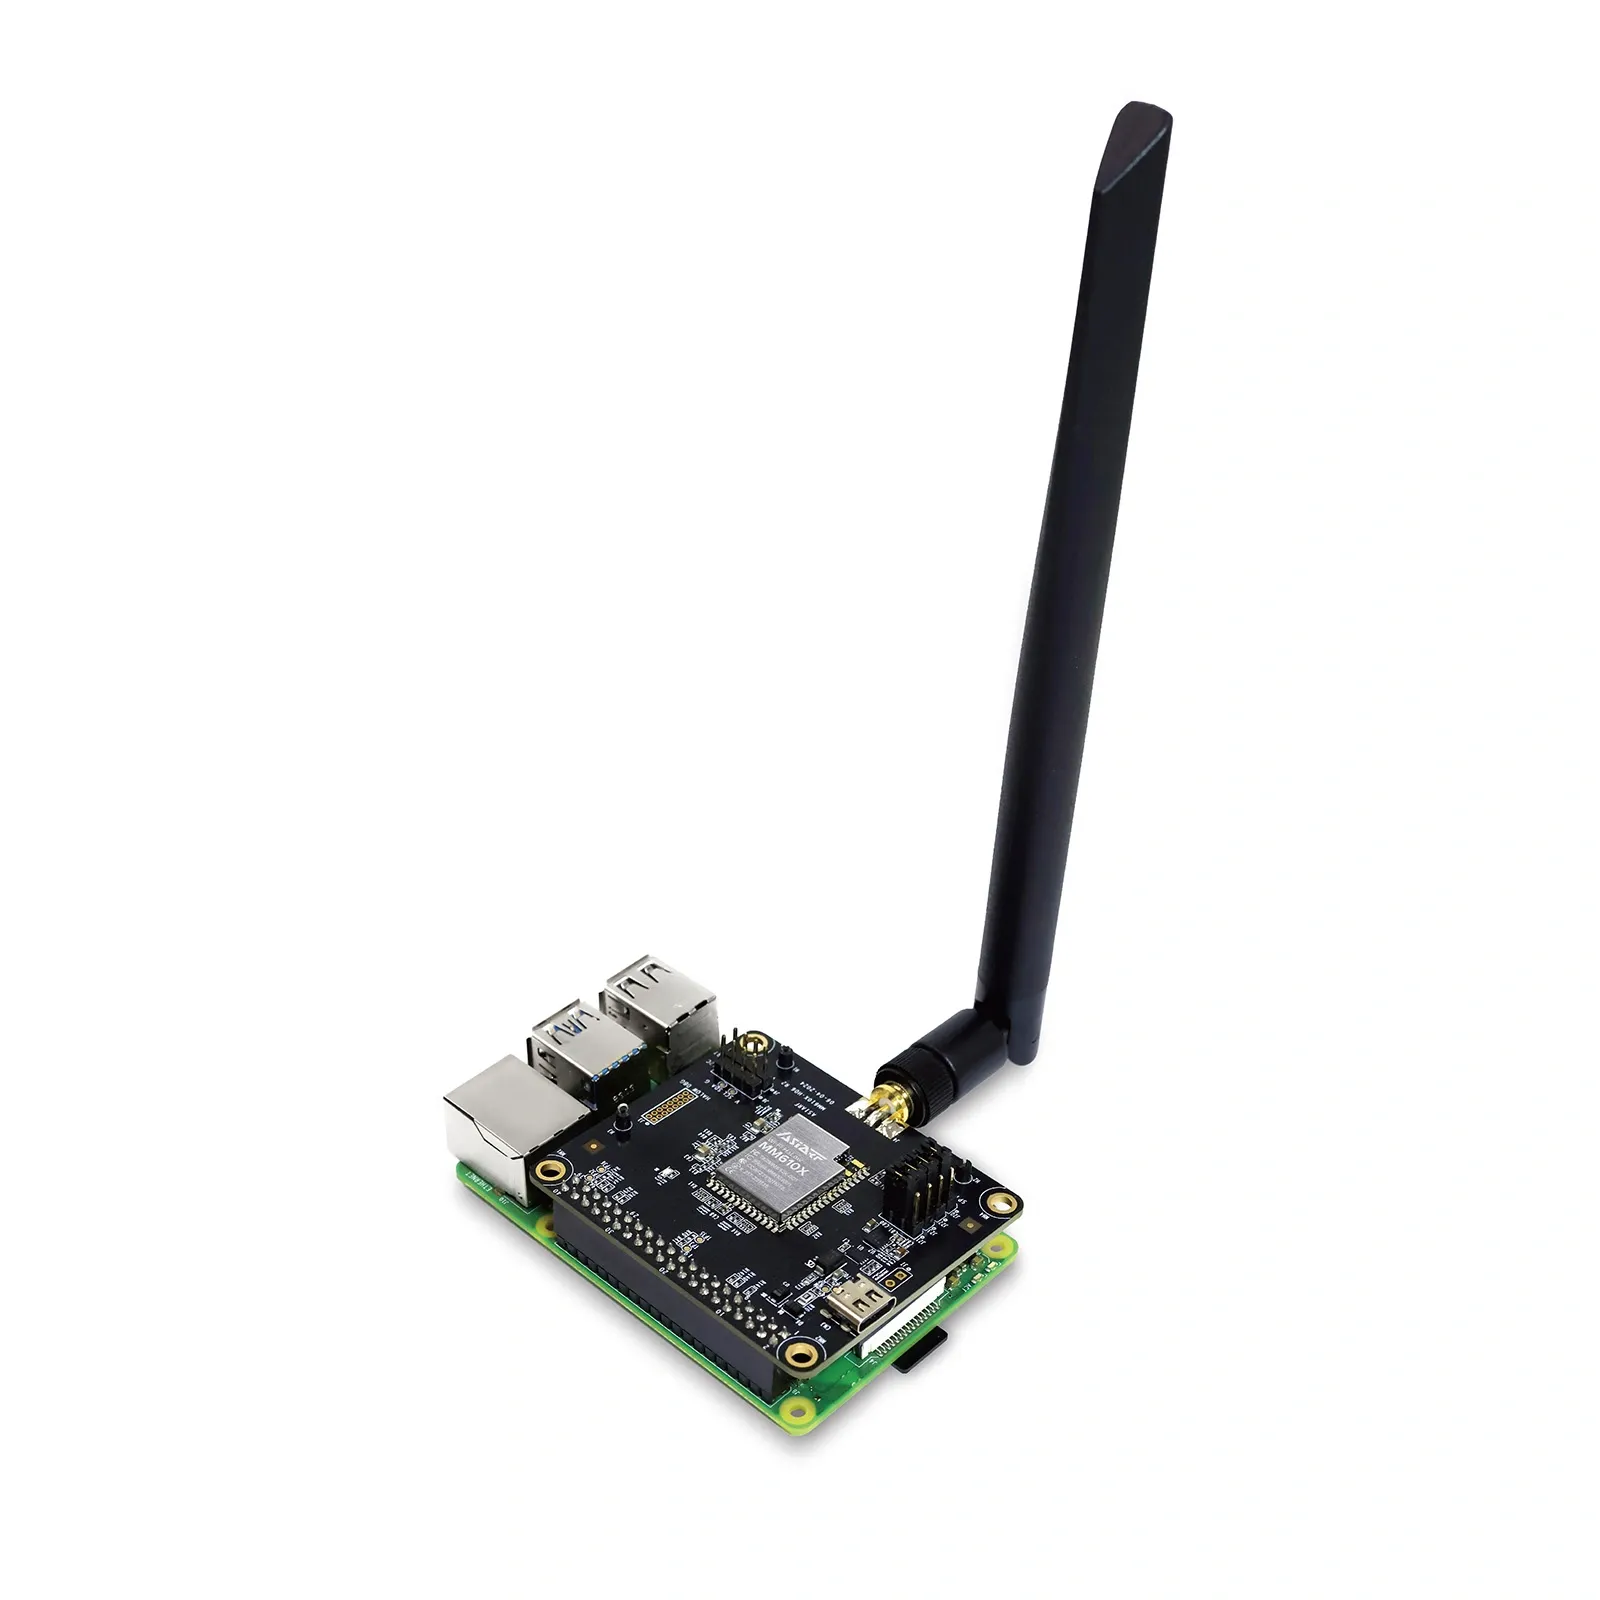
- Raspberry Pi (any model with GPIO, preferably Pi 3/4/5)
- GPS module with PPS (Pulse Per Second) output (e.g. u-blox NEO-6M or NEO-M8N)
- Serial connection to GPS (UART)
- Internet for installation (optional afterward)
- Linux with
chrony,gpsd, and PPS support
⚙️ Step 1: Hardware Setup
- Connect the GPS module:
- TX (GPS) to GPIO 15 (RXD) on the Pi
- PPS pin to GPIO 18 (Pin 12)
- VCC and GND appropriately
- Enable UART and PPS on the Pi:
sudo raspi-config- Interface Options → Enable Serial (disable console over serial, enable hardware UART)
- Reboot when prompted.
📦 Step 2: Install Required Packages
sudo apt update
sudo apt install gpsd gpsd-clients chrony pps-tools
🧪 Step 3: Enable and Test PPS
- Add the PPS overlay:
Edit /boot/config.txt and add:
dtoverlay=pps-gpio,gpiopin=18
- Reboot:
sudo reboot
- Check if
/dev/pps0appears:
ls -l /dev/pps*
- Test PPS signal:
sudo ppstest /dev/pps0
You should see output like:
source 0 - assert 1716165796.000000000, sequence: 1234 - clear 1716165796.000001234
📡 Step 4: Configure GPSD
Edit /etc/default/gpsd:
START_DAEMON="true"
DEVICES="/dev/serial0"
GPSD_OPTIONS="-n"
Restart the service:
sudo systemctl restart gpsd
Verify:
cgps -s
You should see satellite data and GPS time.
⏱️ Step 5: Configure Chrony for GPS + PPS
Edit /etc/chrony/chrony.conf and add these lines at the top:
refclock SHM 0 offset 0.5 delay 0.2 refid GPS
refclock PPS /dev/pps0 refid PPS lock GPS
Also, comment out any existing pool or server lines if you want it to be completely standalone.
Restart Chrony:
sudo systemctl restart chrony
✅ Step 6: Verify Chrony Status
chronyc sources -v
You should see entries like:
#x  Name/IP address            Stratum  Poll Reach  LastRx Last sample
===============================================================================
#?  GPS                          0       4   377     10     -4ns[  +23ns] +/- 30us
#*  PPS                          0       4   377     9      -1ns[   -5ns] +/- 0.1us
The * next to PPS indicates it’s the preferred source.
🖧 Optional: Share NTP on Your Network
Edit /etc/chrony/chrony.conf to allow LAN clients:
allow 192.168.1.0/24
Replace with your local subnet. Restart Chrony to apply.
This allows you to sync your entire home lab or shack with millisecond precision without depending on the internet.


Post Comment