How to Set Up a Winlink Client on a Raspberry Pi
Winlink is an essential tool in emergency and portable amateur radio communications. It allows you to send and receive emails over RF using various modes like VHF, UHF, and HF. In this guide, I’ll walk you through setting up a Winlink client on a Raspberry Pi, turning your Pi into a lightweight and powerful messaging hub.
Whether you’re preparing for EmComm scenarios or operating in remote areas, this setup gives you email access without the internet.
🧰 What You’ll Need
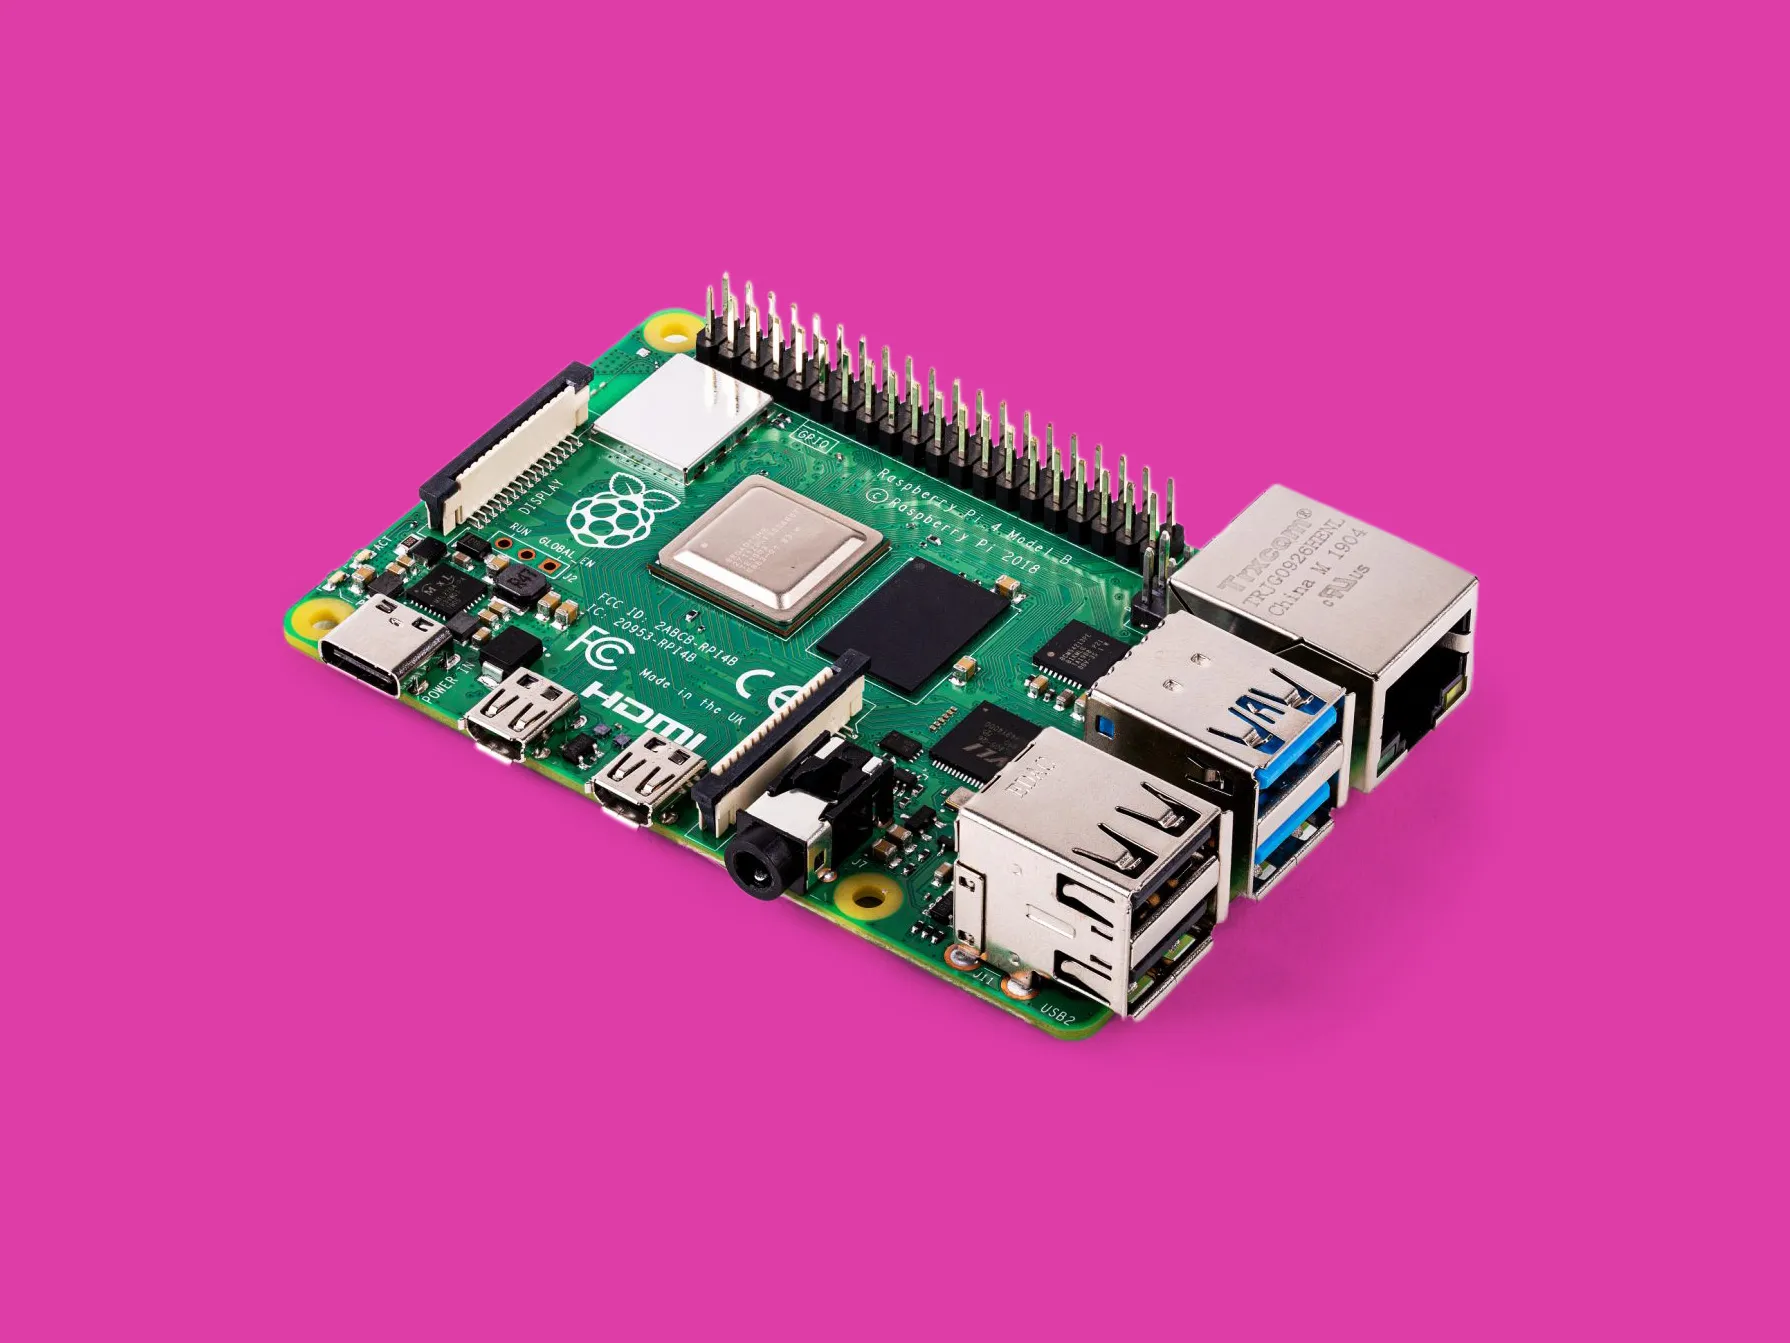
- Raspberry Pi 3, 4, or Zero 2 W (running Raspberry Pi OS or Debian-based Linux)
- Internet access for installation
- Your amateur radio license
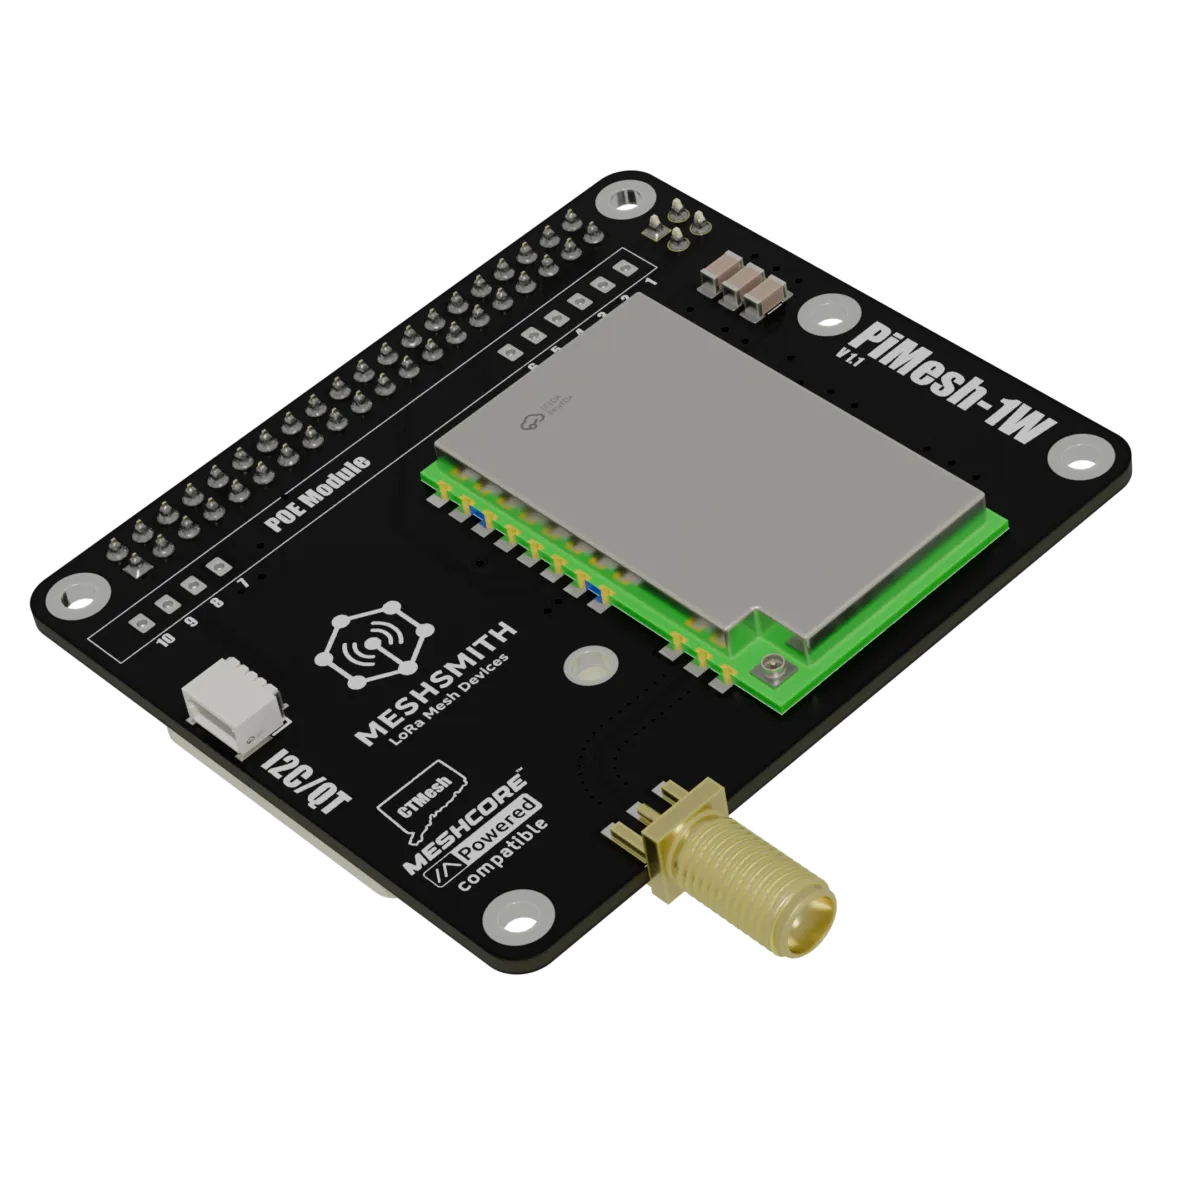
- A soundcard interface (e.g., Signalink, Digirig, or USB soundcard)
- A transceiver (VHF/UHF or HF)
- A Winlink account (free to register on first connect)
Optional but useful:
- USB GPS (for mobile use)
- Touchscreen or headless SSH setup
🖥️ Step 1: Install Dependencies
First, update your Pi:
sudo apt update && sudo apt upgrade -y
Install required packages:
sudo apt install build-essential git cmake libhamlib-dev libwxgtk3.0-gtk3-dev libconfig++-dev libfftw3-dev libpulse-dev libusb-1.0-0-dev libudev-dev libasound2-dev
📥 Step 2: Install pat — the Winlink Client
pat is a cross-platform Winlink client written in Go, ideal for headless or GUI-less systems like the Raspberry Pi.
Install Go (if not installed):
sudo apt install golang-go
Clone and build pat:
cd ~
git clone https://github.com/la5nta/pat.git
cd pat
go build
sudo cp pat /usr/local/bin/
Verify:
pat version
⚙️ Step 3: Configure pat
Create config directory:
mkdir -p ~/.config/pat
nano ~/.config/pat/config.json
Paste and edit this basic configuration:
{
  "mycall": "9M2PJU",
  "secure_login_password": "your_winlink_password",
  "locator": "OJ03pa",
  "listen": ["http"],
  "http_addr": "0.0.0.0:8080"
}
Replace
9M2PJUwith your callsign, and set your password. Thelocatorcan be your Maidenhead grid square.
🔌 Step 4: Connect Radio & Sound Interface
Connect your USB soundcard interface to the Pi and your transceiver. Make sure audio in/out is working (check with arecord and aplay).
Optional: Configure audio devices in ~/.asoundrc or set defaults with alsamixer.
📶 Step 5: Install ardop or ax25 Modem
Install ARDOP (for VHF/UHF or HF soundcard modes)
Clone and build:
cd ~
git clone https://github.com/la5nta/ardop.git
cd ardop
go build
sudo cp ardop /usr/local/bin/
🌐 Step 6: Launch pat Web Interface
Run the client:
pat http
On your browser, navigate to:
http://<raspberrypi-ip>:8080
You’ll see the Winlink pat interface. You can compose messages, connect to gateways, and send emails over RF.
📤 Step 7: Send and Receive Messages
To send a message:
- Click Compose
- Enter recipient (e.g.,
[email protected]) - Choose Winlink CMS Relay for direct messages or Packet/ARDOP for RF
- Click Send
To send via RF (Packet or ARDOP), you’ll need to set up modems and gateway frequencies. Example (packet mode):
pat connect ax25 KLSAR-10
Or ARDOP:
pat connect ardop K4CJX
🛠️ Tips and Tricks
- Use
tmuxorscreento keeppatrunning in the background - Install
ax25-toolsif using hardware TNC - Use
direwolffor software packet TNC (AX.25 mode) - Set up a cronjob to auto-launch on boot
🔒 Security Note
The web interface doesn’t use SSL by default. If you’re exposing this over a network, consider using SSH tunneling or a reverse proxy with HTTPS.
📡 Final Thoughts
With just a Raspberry Pi and some ham radio gear, you now have a fully functional Winlink station capable of handling email over RF. This setup is portable, reliable, and an excellent asset for both casual and emergency use.


2 comments