free open source software
github
linux
text editor
tweaks
vim
code editor, coding environment, dev setup, Developer Tools, lazy.nvim, lazyvim, lazyvim guide, linux development, linux editor, lsp neovim, lua neovim, modern vim, neovim, neovim config, neovim ide, neovim plugins, neovim setup, neovim tutorial, nvim, open source editor, productivity tools, Software Development, terminal editor, treesitter, vim, vim configuration
9M2PJU
0 Comments
Guide to Neovim + LazyVim Setup
If you’re thinking of using Neovim as a modern, fast, and extensible text editor — but don’t want to configure everything from scratch — LazyVim can save you time and effort.
This guide walks you through installing Neovim, then setting up LazyVim — step by step, without skipping the basics.
🔧 Part 1: Install Neovim
LazyVim requires Neovim 0.9 or later, so first make sure you have the correct version.
✅ Step 1: Check if Neovim is installed
Run:
nvim --version
If Neovim is not found or the version is older than 0.9, install or upgrade it.
💻 Linux (Arch-based)
sudo pacman -S neovim
Or for bleeding-edge:
paru -S neovim-git
🍎 macOS (with Homebrew)
brew install neovim
Or upgrade:
brew upgrade neovim
🪟 Windows
Use scoop:
scoop install neovim
Or download prebuilt binaries from GitHub.
📦 Part 2: Install Git (if not already installed)
LazyVim uses Git to clone plugins. On Linux:
sudo pacman -S git      # Arch
sudo apt install git    # Debian/Ubuntu
🧠 Part 3: Install LazyVim
LazyVim is not a plugin — it’s a full Neovim configuration. You’ll replace your existing config with LazyVim’s starter template.
Step 1: Backup your current config (if any)
mv ~/.config/nvim ~/.config/nvim.bak
Step 2: Clone the LazyVim starter template
git clone https://github.com/LazyVim/starter ~/.config/nvim
This gives you a minimal, clean LazyVim-based configuration.
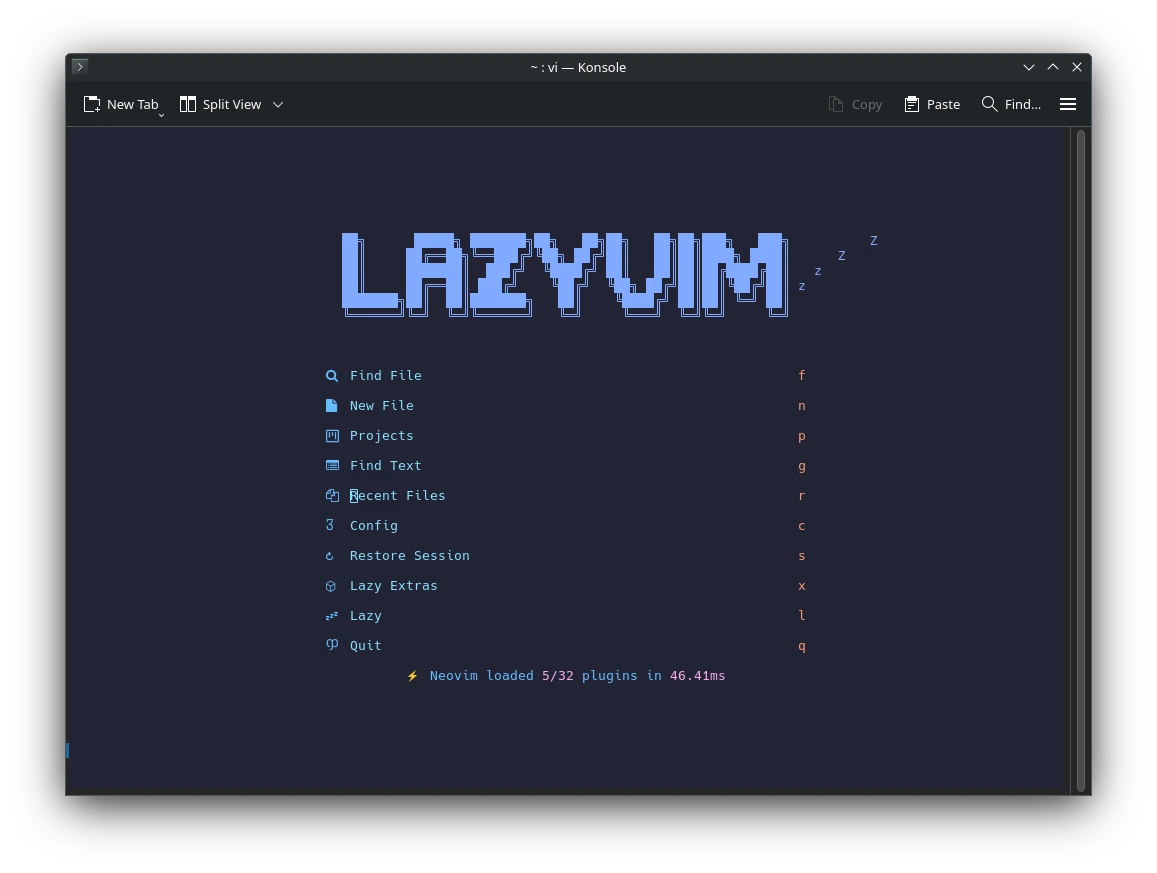
Step 3: Start Neovim
nvim
This will trigger the initial setup. LazyVim will automatically install:
- lazy.nvim plugin manager
- Language Server Protocol (LSP) support
- Autocomplete, Treesitter, statusline, fuzzy finder, file tree, and more
Let it finish the install before doing anything else.
📂 LazyVim File Structure Overview
Once installed, your config lives in:
~/.config/nvim/
├── init.lua             # Entry point
├── lua/
│   ├── config/          # Options and keybindings
│   ├── plugins/         # Add your own plugins here
│   └── lazyvim/         # Core LazyVim files
🛠 How to Add Plugins
Create a new file in lua/plugins/, like this:
-- ~/.config/nvim/lua/plugins/colorscheme.lua
return {
  "folke/tokyonight.nvim",
  priority = 1000,
  config = function()
    vim.cmd.colorscheme("tokyonight")
  end,
}
Then restart Neovim and run:
:Lazy sync
🧾 Summary
| Step | Command |
|---|---|
| Install Neovim (Arch) | sudo pacman -S neovim |
| Backup old config | mv ~/.config/nvim ~/.config/nvim.bak |
| Clone LazyVim starter | git clone https://github.com/LazyVim/starter ~/.config/nvim |
| Open Neovim | nvim |
🧪 Final Thoughts
If you’re looking to switch to Neovim but don’t want to build everything from scratch, LazyVim is a reliable starting point. It gives you a modern editing experience with sane defaults, and a structure that you can extend as you learn.
You don’t need to become a Vim wizard overnight — but LazyVim can help you get productive today and grow at your own pace.


Post Comment