amateur radio
ham radio
high frequency
interference
noise
powerlines interference
radio amatur
finding ham radio interference, ham radio noise troubleshooting, ham radio rfi hunting, ham radio shack noise reduction, hf interference source detection, how to find rf noise at home, locating hf noise without special equipment, loop antenna noise nulling, portable am radio rfi detection, reduce hf noise floor
9M2PJU
0 Comments
How to Track Down HF Interference at Home Without Fancy Gear
If you’ve been enjoying HF on your ham radio and suddenly your S-meter starts sitting at S7 or even S9 with nothing but noise, you know how frustrating it is.
The culprit is often right under your nose inside your own home and the good news is you don’t need expensive test equipment to find it.
Recently, I came across a video from Kevin KB9RLW titled “Locating an HF noise source in the house without using special equipment”, and it showed a simple but effective process any amateur radio operator can follow.
Here’s a step-by-step guide inspired by that approach.
Why Local Noise Is Such a Problem
In HF (High Frequency) operation, noise can completely mask weak signals. Even if your antenna and rig are perfect, a bad noise floor can make DX contacts impossible. Common sources include:
- Switching power supplies
- LED lights and dimmers
- Internet routers and network gear
- Faulty electrical wiring or appliances
The trick is figuring out where it’s coming from.
Step 1 – Go Off the Grid (Temporarily)
The first step is to power your rig from a battery. This removes your home’s electrical system from the equation.
- Switch to a charged 12V battery.
- Keep your antenna connected.
- Listen to the noise level.
If the noise disappears, your house wiring or something plugged into it is the likely cause.
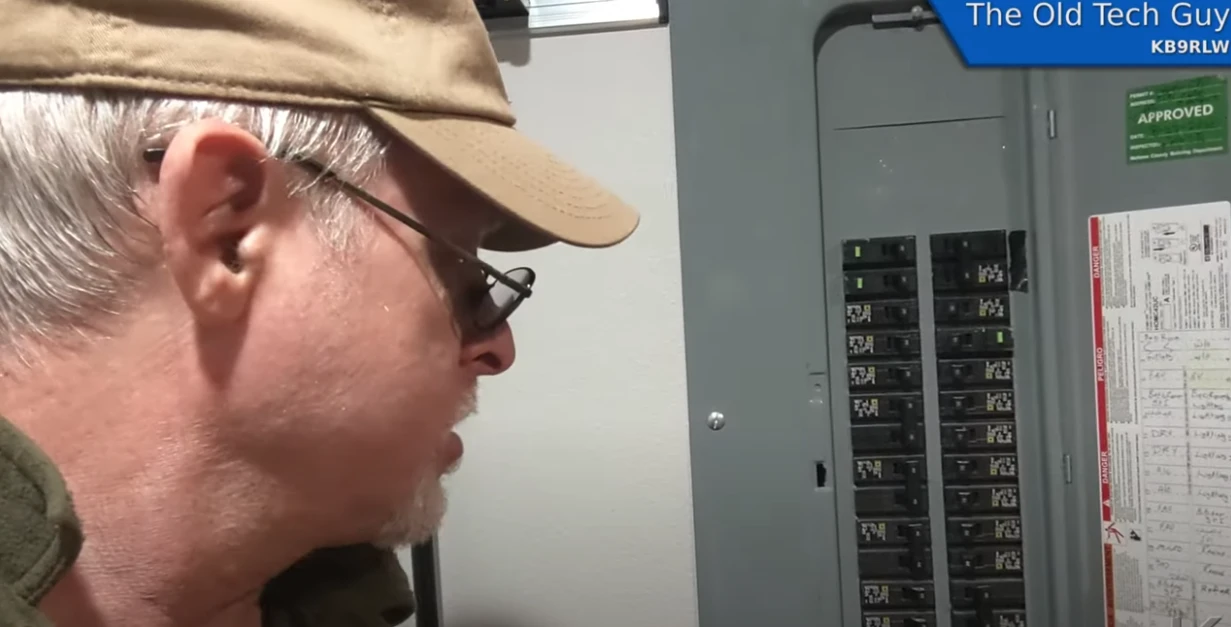
Step 2 – Kill the Breakers
Next, turn your radio back on (still on battery power) and switch off the main breaker.
If the noise drops instantly, you’ve just confirmed the source is inside your home.
You can now turn breakers back on one at a time to figure out which circuit is responsible.
Step 3 – Use a Portable Radio to Hunt
A simple portable AM radio or a small HF receiver works wonders here.
Walk around your home with it tuned to the noisy frequency (or a nearby one) and listen for the loudest noise.
Better yet, use a small loop antenna. Loops have a natural “null” a sharp drop in signal when turned at the right angle. Rotating the loop can tell you exactly which direction the interference is coming from.
Step 4 – Narrow It Down
Once you know the general location:
- Get closer to the suspected device.
- Unplug or turn off one thing at a time.
- When the noise stops, you’ve found the source.
Sometimes the noise isn’t even in your home it might be coming from a neighbor’s equipment. In that case, you can still use the loop/null method outside to pinpoint which property it’s coming from.
Step 5 – Fix or Mitigate the Noise
Once identified, you can:
- Replace faulty devices or power supplies.
- Add ferrite chokes to cables.
- Use better-shielded wiring.
- Politely inform neighbors if their gear is the cause (the ARRL even offers help letters for this).
Real-World Example
In one case, a ham tracked down a constant S9 buzz to a neighbor’s automatic transfer switch for a generator.
The noise vanished as soon as the ATS was powered down, a perfect example of methodical troubleshooting paying off.
Final Thoughts
Finding HF noise doesn’t have to be complicated or expensive.
With a bit of patience, a battery, and a portable radio, you can reclaim a much cleaner noise floor and get back to hearing the stations you’ve been missing.
If you want to see the original demo, check out the video here


Post Comment