How to Use an RTL-SDR with a Raspberry Pi to Listen to Amateur Radio Repeaters
Interested in getting into amateur radio, but not licensed yet? You can start listening to your local repeater activity using a Raspberry Pi, an RTL-SDR USB dongle, and a simple external speaker – all without transmitting a single signal.
In this post, I’ll walk you through how to set up the RTL-SDR, connect it to an external speaker, and listen in to real amateur radio conversations. It’s a great way to learn, get familiar with local activity, and prepare for your amateur radio examination.
🧰 What You’ll Need
- Raspberry Pi 3, 4, or Zero 2 W (with Raspberry Pi OS)
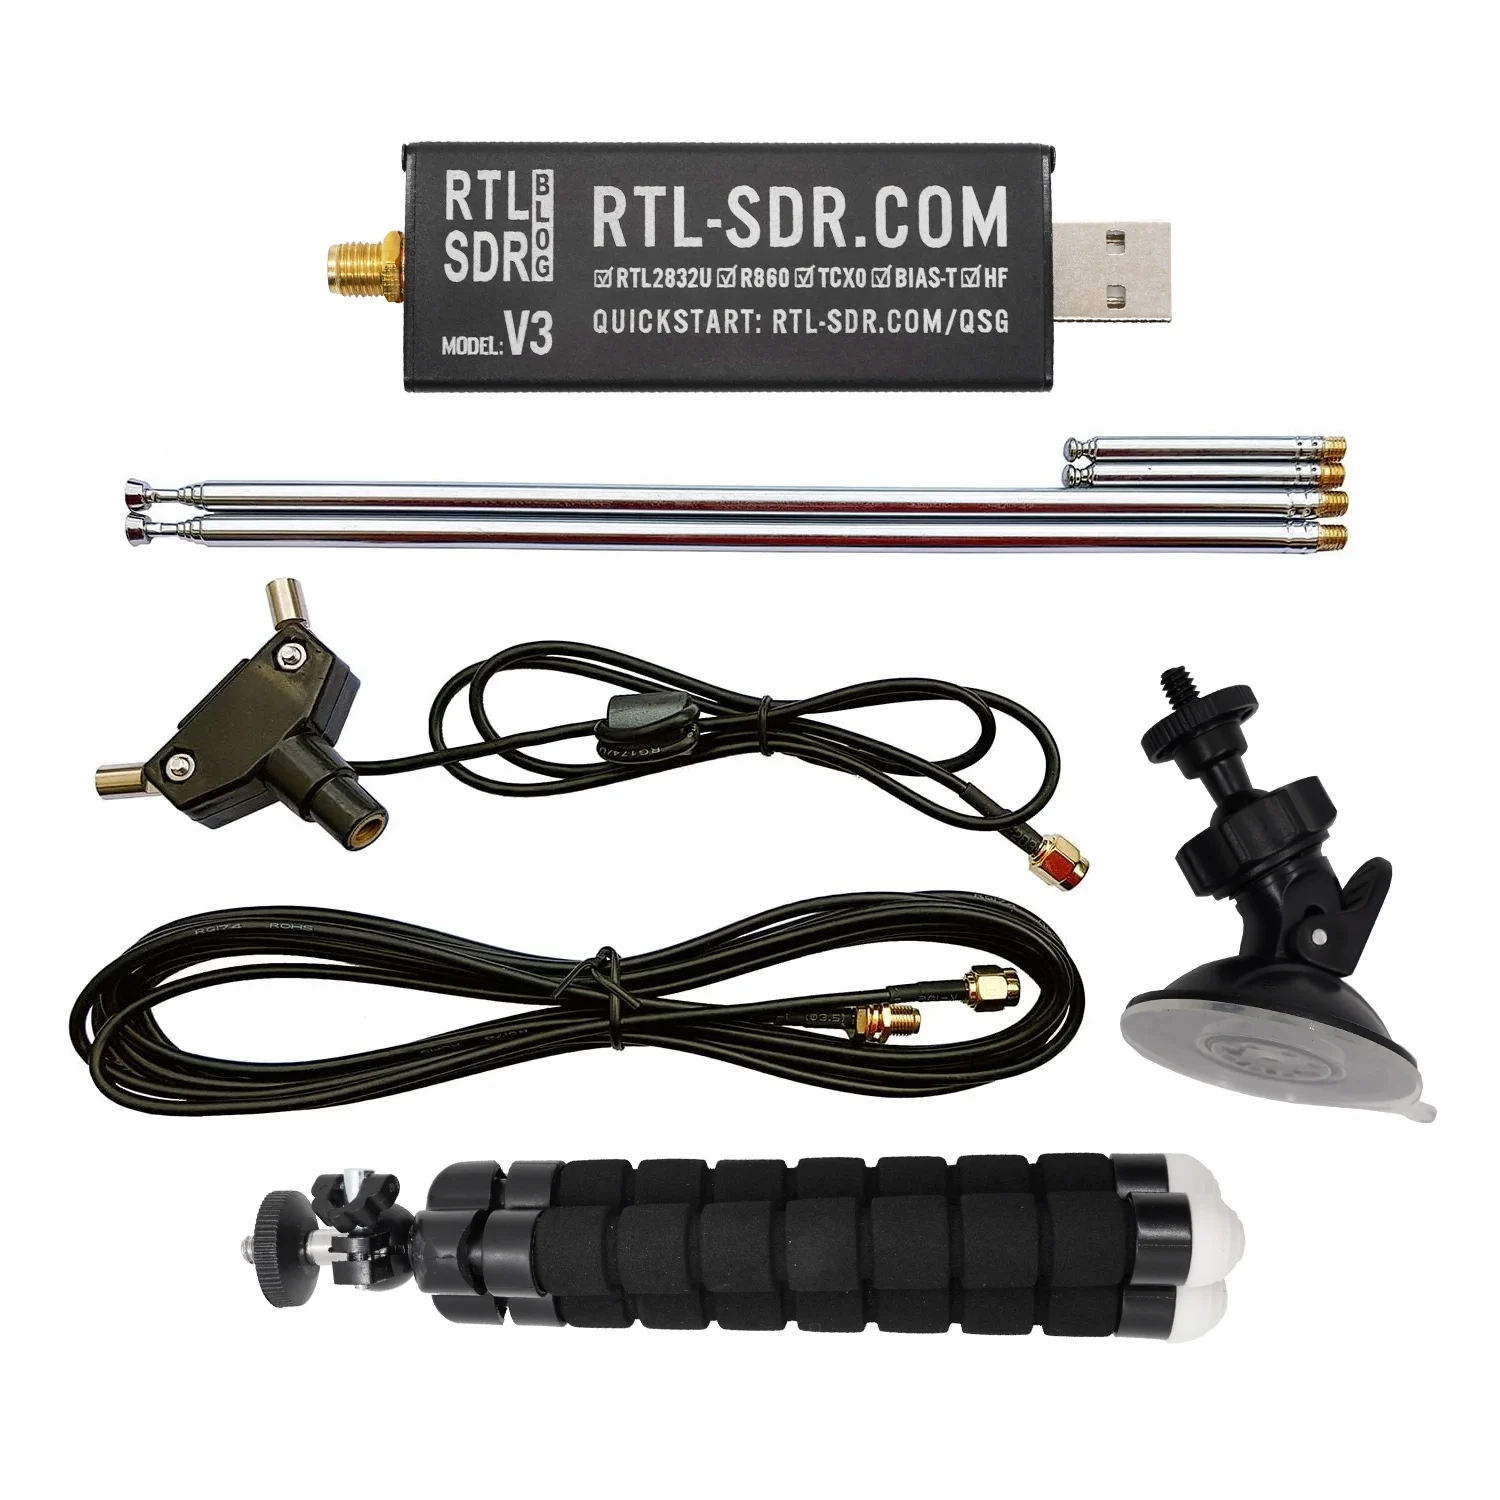
- RTL-SDR USB dongle (e.g., RTL2832U chipset)
- Internet access (for setup)
- 3.5mm audio speaker or powered USB speaker
- Basic VHF/UHF antenna (or better)
Optional:
- External case/cooler for the RTL-SDR
- Monitor and keyboard (or SSH access)
📦 Step 1: Install Required Software
Open a terminal on your Raspberry Pi and install the RTL-SDR tools:
sudo apt update && sudo apt upgrade -y
sudo apt install rtl-sdr sox pulseaudio pavucontrol
Install gqrx if you want a GUI receiver (optional but requires desktop environment):
sudo apt install gqrx-sdr
🧪 Step 2: Test the RTL-SDR Dongle
Before going further, plug in your RTL-SDR and test detection:
rtl_test
If you see something like Found 1 device(s), you’re good to go.
If you see a message about a conflicting DVB driver, disable it:
sudo nano /etc/modprobe.d/no-rtl.conf
Add:
blacklist dvb_usb_rtl28xxu
blacklist rtl2832
blacklist rtl2830
Then reboot:
sudo reboot
🎛️ Step 3: Install and Use rtl_fm to Listen
rtl_fm is a command-line tool to tune your RTL-SDR to a frequency and demodulate FM signals.
Example: To listen to a repeater at 147.000 MHz (standard NBFM):
rtl_fm -f 147M -M fm -s 22050 -r 22050 - | play -r 22050 -t raw -e s -b 16 -c 1 -
If audio is too quiet or noisy, adjust gain:
rtl_fm -f 147M -M fm -s 22050 -g 35 - | play -r 22050 -t raw -e s -b 16 -c 1 -
You can replace
147Mwith the frequency of your local repeater (see next section).
🛰️ Step 4: Find Your Nearest Repeaters
You can find repeater info at:
- https://www.repeaterbook.com (worldwide)
- Alternatively, scan VHF band (144-148 MHz) using
gqrxorrtl_power
🔈 Step 5: Use an External Speaker
If you’re using a 3.5mm analog speaker:
- Make sure audio is not muted
- Set output to headphone or 3.5mm jack:
sudo raspi-config
Select System Options > Audio > 3.5mm jack
For USB speakers, use:
pavucontrol
And route audio to your USB device.
🔁 Step 6: Automate with a Simple Script
Create a file called listen-repeater.sh:
#!/bin/bash
FREQ="147M"  # Change this to your local repeater
GAIN=35
rtl_fm -f $FREQ -M fm -s 22050 -g $GAIN - | play -r 22050 -t raw -e s -b 16 -c 1 -
Make it executable:
chmod +x listen-repeater.sh
./listen-repeater.sh
🎓 Why This Is Perfect for Beginners
- No license is needed to receive amateur radio
- You learn common repeater etiquette and callsigns
- Helps familiarize you with how hams talk, what equipment they use, and the structure of QSOs
Once licensed, you’ll already know your local frequencies, who’s active, and how to engage – making your first QSO less intimidating!
🧠 Tips
- Use a better antenna to improve reception – even a mag-mount antenna placed near a window helps
- Monitor repeater nets to learn procedure and voice flow
- Try decoding digital modes later with tools like
multimon-ngorfldigi
📻 Ready to Get On the Air?
Listening to local repeaters is the gateway to amateur radio. Using an RTL-SDR with a Raspberry Pi is an affordable, educational way to immerse yourself in the hobby before you even get your license. Once you’re ready, take the exam, get your callsign, and join the conversation.


Post Comment