Deploying Tenable Nessus in Docker: Fast, Portable Vulnerability Scanning
Tenable Nessus has long been a trusted tool in the cybersecurity world for identifying vulnerabilities, misconfigurations, and compliance issues. And now, deploying it has never been easier—with Docker.
In this post, we’ll walk through how to deploy Tenable Nessus inside a Docker container, why it can be a powerful move for security teams and penetration testers, and how to get started quickly. Whether you’re running vulnerability scans on your internal infrastructure or integrating Nessus into your CI/CD pipeline, this setup gives you portability, repeatability, and convenience.
💡 What is Tenable Nessus?
Tenable Nessus is one of the most widely used vulnerability scanners on the market. It helps IT and security professionals:
- Identify security vulnerabilities (e.g., CVEs, open ports, weak credentials)
- Detect misconfigurations across operating systems, applications, and devices
- Ensure compliance with standards such as CIS Benchmarks, HIPAA, PCI-DSS, and NIST
- Perform regular scans on internal and external assets
There are different flavors: Nessus Essentials, Nessus Professional, and Nessus Manager, with capabilities ranging from standalone use to centrally managed scanning nodes.
🚀 Why Use Docker for Nessus?
Running Nessus in Docker has several benefits:
- ⚡ Quick to deploy: One command and it’s running.
- 🧪 Isolated environment: Great for testing or short-term assessments.
- 🔁 Repeatable: Spin up identical scanner environments anywhere.
- 💻 Multi-arch: Available for x86_64 and AArch64 (including Raspberry Pi!).
However, keep in mind:
- Nessus does not support persistent storage in Docker, so the configuration is lost if the container is removed.
- Not recommended to share the same NIC with other containers for security/isolation reasons.
🛠️ Getting Started: Deploy Nessus with Docker
1. 🐙 Install Docker
Make sure you have Docker installed:
docker --version
If not, install Docker via your OS package manager or from https://www.docker.com.
2. 📦 Pull the Nessus Docker Image
Pull the official image from Docker Hub:
docker pull tenable/nessus:latest-ubuntu
Other available tags:
latest-oracle- Specific versions like
10.6.1-ubuntuor10.6.1-oracle
3. 🚨 Run the Container
Here’s a typical command to launch Nessus:
docker run -d \
  --name nessus \
  -p 8834:8834 \
  -e USERNAME=admin \
  -e PASSWORD=SuperSecurePassword \
  -e ACTIVATION_CODE=XXXXXXXX-XXXX-XXXX-XXXX-XXXXXXXXXXXX \
  tenable/nessus:latest-ubuntu
Environment Variables:
| Variable | Description |
|---|---|
USERNAME | Admin username to set up Nessus |
PASSWORD | Password for the admin user |
ACTIVATION_CODE | Nessus activation code |
LINKING_KEY | (Optional) Key for linking to Tenable.io |
📌 Note: You can also link to Tenable Vulnerability Management or Tenable Security Center by setting additional linking variables.
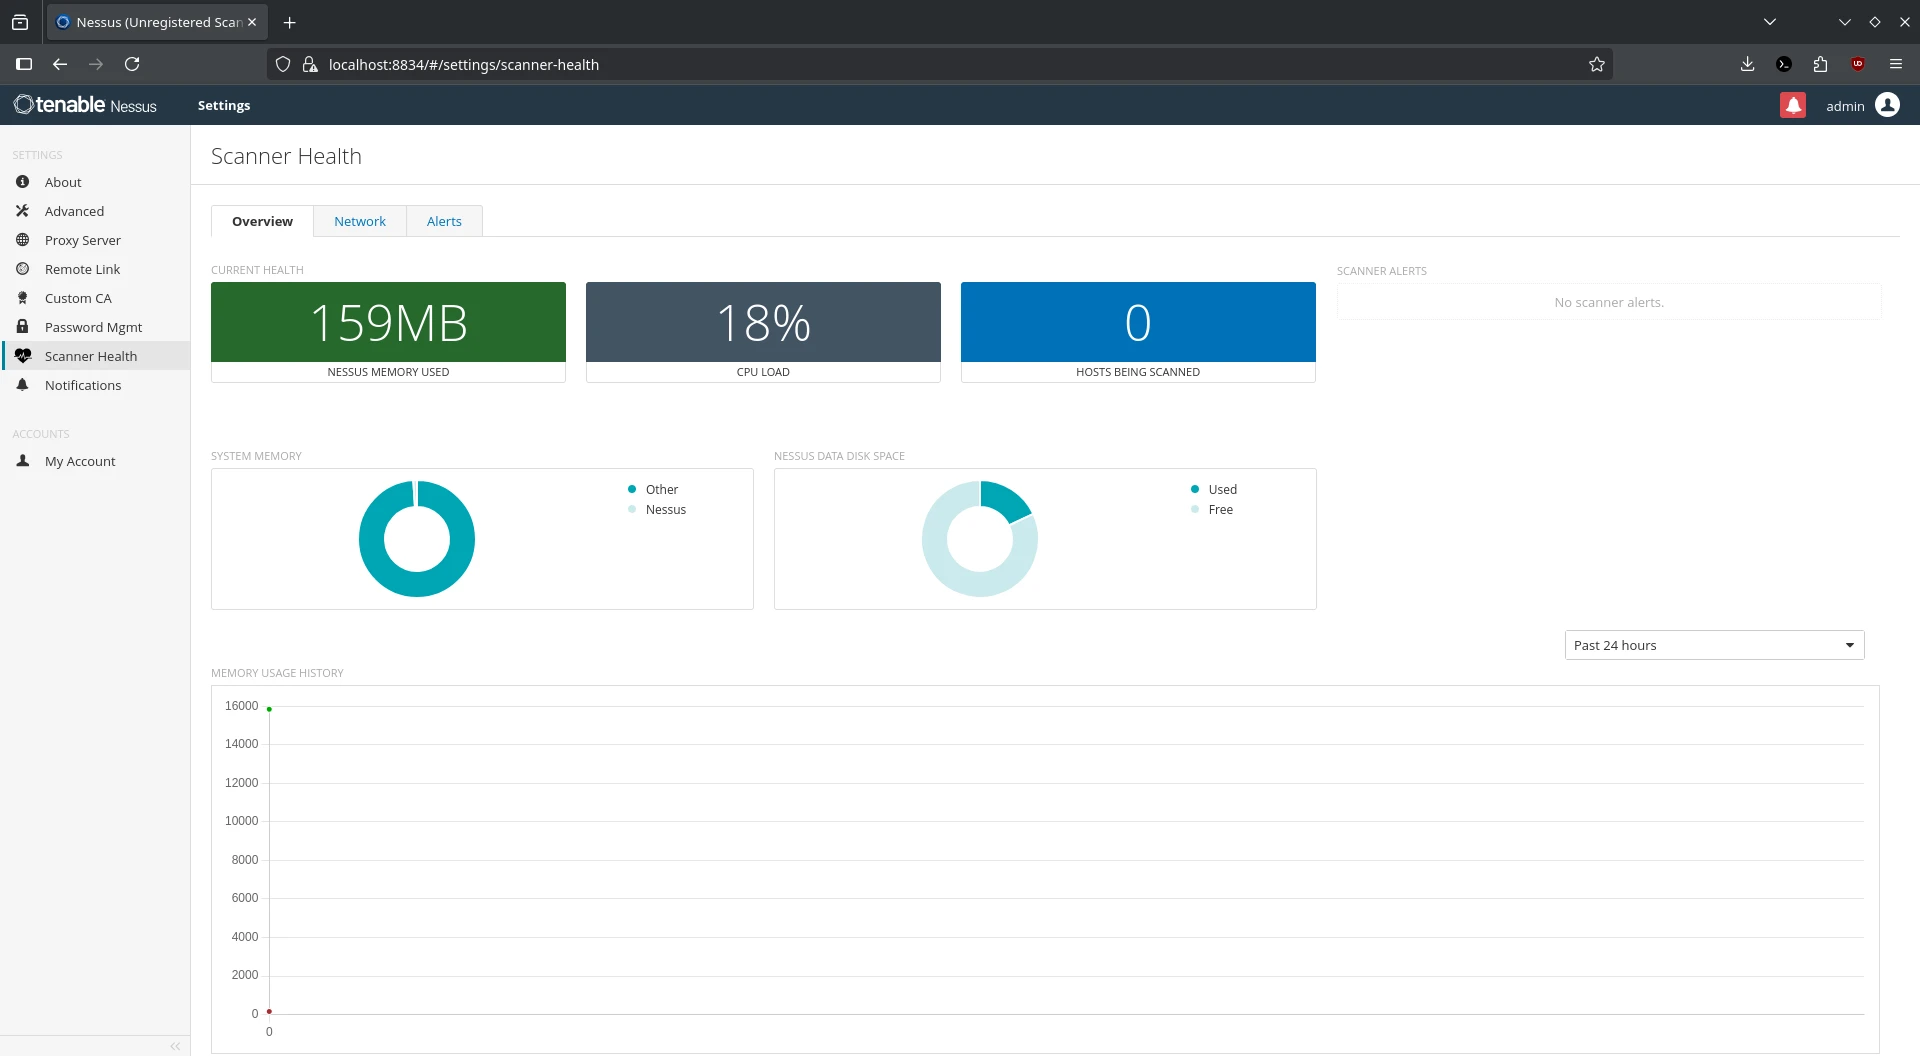
4. 🌐 Access the Web UI
Open your browser and go to:
https://localhost:8834for local machineshttps://<host-ip>:8834for remote access
Ignore the SSL warning (self-signed certificate) and proceed.
🧹 Stop and Remove the Container
To stop and remove the Nessus container:
docker stop nessus
docker rm nessus
Keep in mind: No data is saved after removing the container unless you’ve built in some backup method.
🔍 Common Uses for Nessus
- ✅ Regular vulnerability assessments across internal networks
- 🔍 Penetration testing and red team recon
- 🧪 Testing new devices in isolated environments
- 🛡️ Compliance audits and configuration hardening
- 🔄 Automation with CI/CD pipelines for security scanning
- 🌐 External perimeter scanning (hosted on cloud VPS)
⚠️ Pro Tips
- Always run Nessus in a secure and trusted network environment.
- Use
docker logs nessusto view startup logs if something goes wrong. - Consider using a reverse proxy (e.g., Traefik, NGINX) with HTTPS termination for cleaner access.
- Avoid using default ports in production to reduce scanning visibility.
📎 References
🧠 Final Thoughts
Using Docker to deploy Nessus gives you the flexibility to test, scan, and assess environments rapidly. Just remember: without persistent storage, it’s a stateless scanner—perfect for CI/CD jobs, assessments, or isolated testing, but not for long-term use unless container persistence is manually handled.


Post Comment