OpenWebRX Using Docker on Raspberry Pi and Other Devices
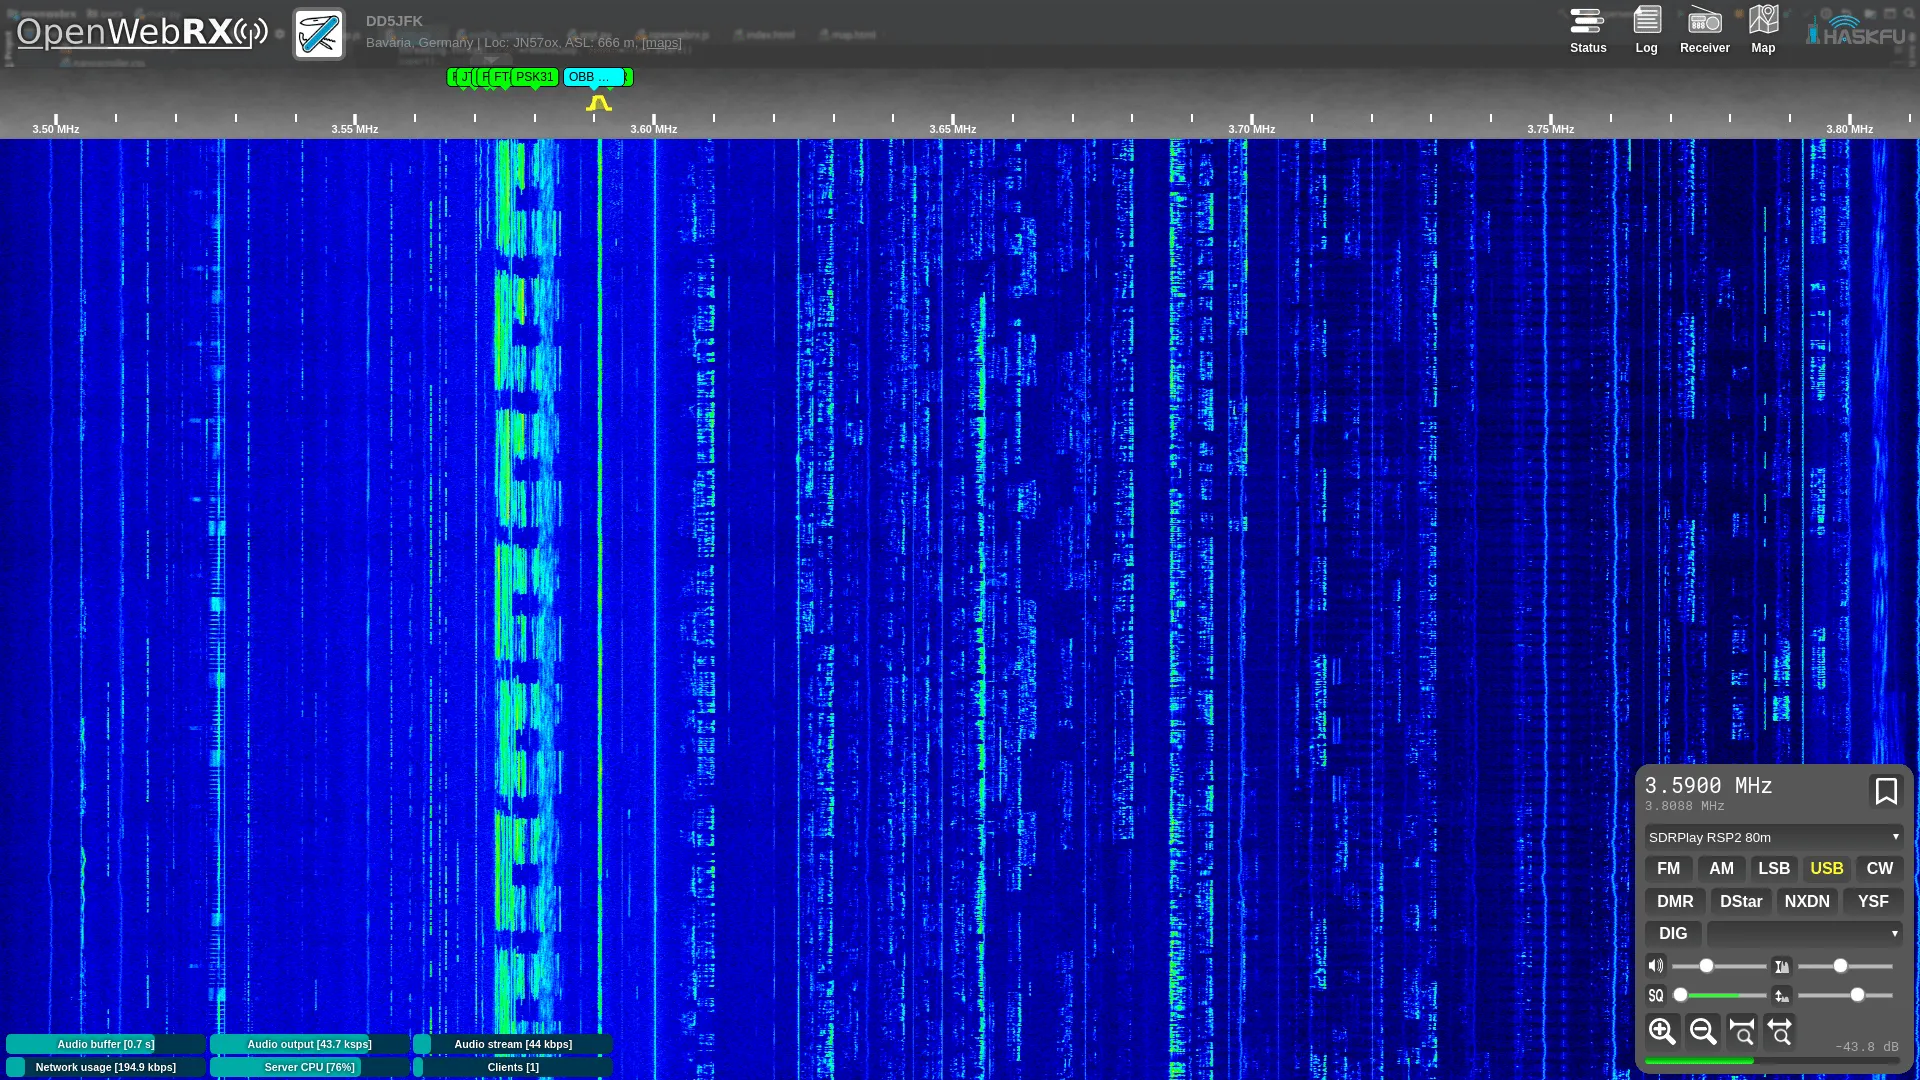
If you’re looking for a quick and clean way to get OpenWebRX running, Docker is a fantastic option-especially if you’re already familiar with containerized environments. Whether you’re setting up a software-defined radio (SDR) receiver on a desktop machine or a Raspberry Pi, using pre-built Docker images can save you a lot of time and hassle.
Why Docker?
Docker allows you to deploy software in isolated containers, complete with all their dependencies. This means you don’t need to worry about library conflicts, system packages, or compiling from source-just pull the image and run.
The Docker images provided by jketterl on Docker Hub are built specifically for OpenWebRX and include all necessary requirements out of the box. Images are available for a range of hardware types, and there’s even a comprehensive “full” variant that supports multiple SDR devices.
These images are built for multiple architectures:
x86_64(most desktops/laptops)armv7landaarch64(perfect for Raspberry Pi and similar single-board computers)
Quick Start for Raspberry Pi
If you haven’t installed Docker yet, the easiest way is to run:
curl -sSL https://get.docker.com | sh
Once Docker is installed, you’re just two commands away from getting OpenWebRX up and running:
docker volume create openwebrx-settings
docker run --device /dev/bus/usb -p 8073:8073 \
  -v openwebrx-settings:/var/lib/openwebrx \
  --tmpfs=/tmp/openwebrx \
  jketterl/openwebrx:stable
This setup does the following:
- Maps USB access so your SDR hardware can be used inside the container
- Creates a persistent volume for OpenWebRX settings
- Offloads temporary files to memory (
tmpfs) to reduce SD card wear, which is especially important on Raspberry Pi
Docker Compose Option
If you prefer docker-compose, here’s a minimal docker-compose.yml setup:
version: "3"
services:
  openwebrx:
    image: jketterl/openwebrx:stable
    volumes:
      - ./openwebrx/settings:/var/lib/openwebrx
    ports:
      - "8073:8073"
    devices:
      - "/dev/bus/usb/002/002:/dev/bus/usb/002/002"
    tmpfs:
      - "/tmp/openwebrx"
Make sure to adjust the USB device path according to your system. You can check your SDR device’s path using lsusb and ls /dev/bus/usb.
Troubleshooting: USB Device Access
Some users run into issues when the SDR device cannot be accessed inside the Docker container. This usually shows up as an error like:
usb_claim_interface error -6
This happens when the Linux kernel loads its own drivers for your SDR, preventing access from within Docker.
To solve this, you’ll need to blacklist the appropriate kernel modules on your host system. Here’s a quick reference:
| SDR Device | Kernel Module(s) to Blacklist |
|---|---|
| RTL-SDR | dvb_usb_rtl28xxu |
| SDRplay | sdr_msi3101, msi001, msi2500 |
| HackRF | hackrf |
On Debian-based systems:
Create a file in /etc/modprobe.d/, such as sdr-blacklist.conf, and add lines like:
blacklist dvb_usb_rtl28xxu
After that, run sudo update-initramfs -u and reboot your system to apply the changes.
Final Notes
This containerized approach to running OpenWebRX is efficient, maintainable, and easy to back up or migrate. It’s ideal for both newcomers and experienced users alike. The Docker images by jketterl are actively maintained and support a variety of SDR hardware, making them a solid choice for any SDR setup.
If you’re looking to get your SDR receiver online with minimal configuration and maximum flexibility, this is the way to go. Visit https://github.com/jketterl/openwebrx



Post Comment