Pi Streamer: Live Stream Your sBitx to YouTube from a Raspberry Pi
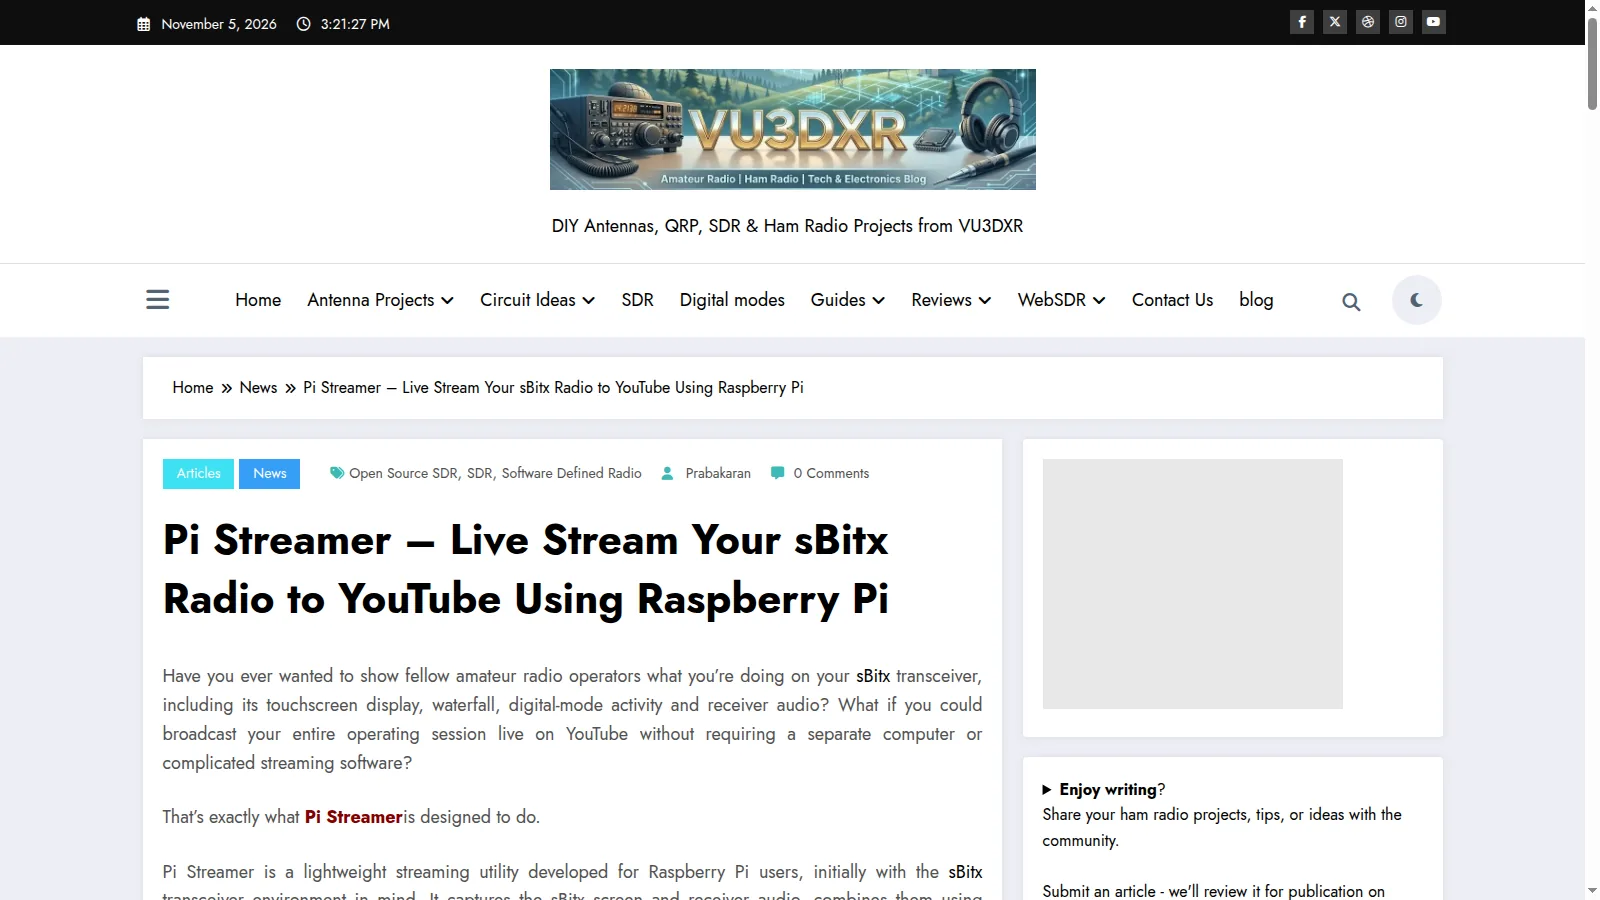
Prabakaran VU3DXR has released Pi Streamer v1.8.1, a lightweight utility that turns the Raspberry Pi inside your sBitx into a YouTube Live broadcast station. It captures the radio touchscreen display and receiver audio, combines them with FFmpeg, and sends the result to YouTube over RTMP or RTMPS, all controlled from a simple web dashboard with no second computer and no manual FFmpeg commands.
TL;DR: Pi Streamer is a free Raspberry Pi utility by VU3DXR that live streams an sBitx screen and receiver audio to YouTube via FFmpeg and a web dashboard. Download the v1.8.1 ZIP, enter your YouTube stream key, press Start, and your HF session, waterfall and digital modes go out live.
What Pi Streamer Is
Pi Streamer is a lightweight live streaming utility for Raspberry Pi that captures the sBitx touchscreen display and receiver audio, muxes them with FFmpeg, and broadcasts the result to YouTube Live through a web based control dashboard.
The project was built with the sBitx transceiver environment in mind. The sBitx is itself a Raspberry Pi 4 running Linux bolted to an HF RF deck, with a 7 inch touchscreen, built in FT8 engine, logger, telnet cluster client and web interface, sold by HF Signals as a $399 assembled rig or $229 basic kit. Since the computer is already inside the radio, VU3DXR reasoned that the radio should be able to stream itself, and Pi Streamer is the result. The package is distributed as a ZIP with installation instructions, currently at version 1.8.1, and it is shared freely with the amateur radio community.
The appeal is practical rather than glamorous. Showing another operator what your sBitx is doing means showing the screen: the frequency, the waterfall, the FT8 decodes scrolling past, the filter shape you just narrowed. A phone pointed at the display never does that justice, and a full OBS Studio setup on a second computer is overkill for a club demo or a casual HF session. Pi Streamer sits between those extremes, using the Pi that is already there.
Why Streaming an sBitx Matters
Most HF operating is invisible to anyone not sitting in the chair. A contact logged as “worked JA on 15m FT8” tells a newcomer nothing about how the band looked, how the decode window filled, or what the operator actually clicked. Live video of the radio screen closes that gap, and for the sBitx the gap is wider than usual because so much of the radio lives in software.
Concrete situations where a live sBitx screen helps:
- Club nights and license classes. Members who can’t attend in person watch the waterfall, the filter adjustments and the logging flow in real time instead of reading about them later.
- Digital mode demonstrations. FT8 and other modes are screen native activities. Watching decodes appear, seeing a CQ answered and the exchange logged, teaches faster than any slide deck.
- Remote mentoring. An Elmer can watch a newcomer tune, spot the mistake in filter width or drive level, and talk them through it over a second channel.
- Special event and field stations. POTA, SOTA and contest operations gain an audience beyond the logbook, and the recording doubles as documentation of the activation.
- Homebrew show and tell. Modified sBitx builds, custom skins and volunteer firmware improvements from the community fork are easier to evaluate when viewers can see them running.
None of this replaces operating skill, but it lowers the cost of sharing what the radio is actually doing.
How Pi Streamer Works
The streaming arrangement is a short pipeline with four stages. Understanding each stage helps when something breaks, because each stage fails in its own characteristic way.
| Stage | What happens | Typical failure symptom |
|---|---|---|
| 1. Screen capture | The sBitx touchscreen framebuffer or X11 desktop is grabbed as a live video feed | Black frame or frozen image, usually a display server or permissions issue |
| 2. Audio capture | Receiver audio is taken from the available Pi audio source | Silent stream with good video, usually a wrong input device or muted source |
| 3. FFmpeg encode and mux | FFmpeg encodes video and audio and combines them into one stream | High CPU load, dropped frames, usually resolution or bitrate set too high |
| 4. RTMP/RTMPS delivery | The muxed stream is pushed to YouTube Live using the stream URL plus stream key | Stream never appears on YouTube, usually a wrong key, expired key or blocked port |
Viewers on YouTube see the radio display and hear the receiver audio together. So an FT8 session arrives as the full picture: waterfall on screen, tones in the audio, decodes scrolling in the window.
A few technical notes worth knowing. RTMP on port 1935 is the classic YouTube ingest path, while RTMPS wraps the same protocol in TLS on port 443 and passes through restrictive firewalls more reliably. FFmpeg does the heavy lifting in both cases, which is why the same tool that records contest audio can also feed a live broadcast. The sBitx runs its SDR processing on the same Pi 4 that now also encodes video, so streaming resolution and frame rate aren’t free. Budget headroom accordingly, more on that below.
Key Features at a Glance
- Live sBitx screen streaming. Broadcasts the actual touchscreen display to YouTube Live so viewers see the frequency, waterfall, operating activity and mode windows exactly as the operator sees them.
- Receiver audio streaming. Carries the received signals alongside the picture, which is what makes a demo intelligible. A waterfall without audio is a silent film.
- Web based dashboard. Groups streaming destination, stream key, video and audio settings and session controls in one graphical page. Routine streaming needs no terminal FFmpeg invocations.
- YouTube RTMP/RTMPS configuration. The streaming URL and stream key are entered through the dashboard, making it easy to change destinations or rotate keys.
- Start and Stop controls. A broadcast begins when operating begins and ends when it ends. No need to stream around the clock.
- Adjustable video and audio settings. Resolution, frame rate, audio bitrate and related parameters adapt the stream to available uplink bandwidth and Pi capability.
- Streaming activity monitoring. The dashboard reports on the session while it runs, so a failed push or stalled encoder is visible immediately rather than discovered from viewer comments.
What You Need Before You Press Start
The hardware list is short, but each item has a catch worth checking in advance.
- An sBitx (or another Raspberry Pi desktop). Development and testing focused on the sBitx environment. Other Pi desktop applications may work, subject to their screen capture and audio routing. See the compatibility notes below.
- Reliable uplink bandwidth. YouTube recommends roughly 3 to 6 Mbps sustained uplink for a stable 720p software encoded stream, and less for 480p. Test with a speed test from the operating location, not from memory. Hotel, field and shared club WiFi often delivers far less upstream than the advertised headline rate.
- A YouTube account cleared for live streaming. A new live account typically waits about 24 hours after first enabling the feature before YouTube activates it, and streaming from a verified account avoids mid session interruptions. Create and verify the account well before the demo night, not during it.
- Your stream key, kept private. YouTube Studio generates the key under Create then Go live. Anyone holding the key can broadcast to your channel, so treat it like a password, rotate it after public demos, and never paste it into screenshots or shared config files.
- Wired network if possible. The sBitx supports WiFi and its web interface works over it, but a wired Ethernet connection to the same router removes the most common source of dropped frames in a live RF environment full of switching supplies.
Setting Up: From Download to First Broadcast
Pi Streamer ships as a ZIP containing the application and installation instructions. The outline below follows the documented flow. Exact file names and screens come from the package README, so open that file first and let it overrule this summary if the two differ.
- Download the package. Grab Pi_Streamer_v1.8.1.zip from the project page onto the Pi or a machine that can copy files to it.
- Read the included instructions. The ZIP contains the install steps for the sBitx environment. Follow them in order, including any dependency installs, before launching anything.
- Enable live streaming on YouTube. In YouTube Studio, open Create then Go live, complete the verification if this is a first stream, and note the 24 hour waiting period for brand new live accounts.
- Copy the ingest URL and stream key. YouTube shows an RTMP or RTMPS server URL plus a unique key. Keep this window private and never screen share it during the broadcast.
- Configure the Pi Streamer dashboard. Enter the streaming URL and key, pick a conservative starting point such as 720p at 30 fps with a 128 kbps audio track, and save.
- Do a private rehearsal. Set the YouTube broadcast to Private or Unlisted, press Start in the dashboard, and watch from a phone on mobile data, not the shack WiFi. Check lip sync between waterfall events and audio, confirm the touchscreen text is readable at 720p, and verify CPU load leaves the radio responsive.
- Go public. Switch the YouTube broadcast to Public or schedule it, announce the session to the club, and keep the dashboard monitoring visible on a corner of the screen.
Watch the official demonstration to see the finished result before installing:
Prefer the YouTube page directly? Watch the Pi Streamer demonstration on YouTube.
Tuning Quality: Resolution, Frame Rate and Bitrate
The Pi 4 inside the sBitx is simultaneously running the SDR, the touchscreen UI and now a live video encoder. That shared load is the central tuning problem. Start conservative, verify stability over a full operating session, then raise quality one step at a time.
| Target | When to use it | Suggested starting point |
|---|---|---|
| 480p at 24 to 30 fps | Field operation, weak uplink, congested club WiFi | Video around 1 to 1.5 Mbps, audio 96 to 128 kbps |
| 720p at 24 to 30 fps | Home station with 5 Mbps or better sustained uplink | Video around 3 to 4.5 Mbps, audio 128 kbps |
| 1080p | Only with strong uplink and a cool Pi, and only if viewers actually need full HD text | Video 6 Mbps and up, watch CPU temperature closely |
Practical rules that save debugging time:
- Lower the frame rate before lowering resolution. Radio screens change slowly. Dropping from 30 to 24 or even 15 fps cuts encoder load sharply while waterfall text stays readable.
- Prefer wired Ethernet. A cable eliminates WiFi contention with the microwave oven, the club projector dongle and twenty phones in the room.
- Mind Pi thermals. Sustained encoding on a Pi 4 in a warm shack throttles the CPU. A small fan or heatsink case pays for itself the first time a two hour net doesn’t degrade into slideshows.
- Set audio for speech and tones, not music. 96 to 128 kbps AAC carries SSB audio, CW sidetones and FT8 warbles cleanly. Higher audio bitrates steal bandwidth from video with no audible benefit on a receiver feed.
- Test at operating temperature. A five minute test on a cold Pi proves nothing. Run the full rehearsal length and watch the dashboard for climbing CPU or dropped frames in the final quarter.
Beyond sBitx: GQRX, SDR++, OpenWebRX, WSJT-X, JTDX and GNU Radio
Although Pi Streamer was built and tested against the sBitx, the underlying approach of screen capture plus FFmpeg plus RTMP applies to any Raspberry Pi desktop application. VU3DXR names several plausible candidates:
- GQRX: live demonstrations of SDR reception and spectrum activity, ideal for showing filter, gain and antenna comparisons side by side with narration.
- SDR++: sharing software defined radio experiments and receiver operation, including multi VFO layouts that photograph poorly but stream well.
- OpenWebRX: broadcasting receiver activity and spectrum displays from a monitoring station, useful for club spectrum nights.
- WSJT-X: demonstrating FT8 and other digital modes with the full decode window visible to students.
- JTDX: sharing digital mode reception and decoding activity as an alternative WSJT-X style client, popular with sBitx operators who run it directly on the radio.
- GNU Radio: demonstrating SDR experiments and signal processing projects, where the flowgraph and the resulting waterfall tell the story together.
Compatibility note, stated plainly: these alternative applications haven’t all been individually tested with Pi Streamer. Screen capture paths differ between X11 and Wayland sessions, audio routing depends on whether the app uses PulseAudio, PipeWire or direct ALSA, and per application setup will vary. Budget an evening of testing per application, confirm audio routing with a private stream first, and report results back so the compatibility picture improves.
Pi Streamer vs Other Ways to Get Your Shack on YouTube
Streaming a radio screen isn’t new. What Pi Streamer changes is where the work happens and how much gear it takes.
| Approach | What it needs | Strengths | Weaknesses |
|---|---|---|---|
| Pi Streamer on the sBitx | sBitx or Pi, network, YouTube key | No second computer, dashboard instead of FFmpeg CLI, screen plus receiver audio together | Tied to Pi encoder capacity, alternatives to sBitx need manual audio setup |
| OBS Studio on a second PC | Laptop or desktop, capture or VNC, audio routing | Scenes, overlays, multiple cameras, chat integration, recording | Extra machine in the shack, audio and video sync work, heavier setup |
| Phone camera pointed at the screen | Phone and tripod | Zero configuration, works with any radio | Glare, moire, unreadable text, room noise instead of receiver audio |
| VNC or browser plus PC encoder | sBitx web interface or RealVNC, PC running OBS | Flexible layouts, remote operation doubles as the video source | Two machines, network loop risks, latency between control and stream |
| Public OpenWebRX receiver page | Hosted receiver | Audience tunes themselves, no streaming at all | No narration context, no digital mode app windows, depends on hosted hardware |
For a club demo or a casual operating night, Pi Streamer wins on simplicity. For a produced net with lower thirds, multiple cameras and call in guests, graduate to OBS and use the Pi stream as one input among several.
Practical Uses for Clubs, Events and Field Stations
- Live operating demonstrations. Run the HF station on the projector and on YouTube simultaneously so remote members follow along.
- License class sessions. Show a real FT8 exchange, a CW filter narrowing onto a weak signal, or a logger entry being created, all live.
- Special event stations. Give the event a public face beyond the log upload, with the station callsign and schedule in the stream description.
- Workshop troubleshooting. Share the screen with a distant expert who can see the exact settings, error messages and waterfall behavior.
- Antenna and filter comparisons. Switch antennas or adjust the audio tracking filter live while viewers hear the difference in the receiver audio.
- Firmware and software demos. Volunteer builds from the sBitx community and official documentation updates are easier to assess when the audience watches them run.
- Field debriefs. Record the activation stream and reuse segments as training material for the next portable outing.
One etiquette reminder: announce when a session is streaming, keep third party callsigns and personal data in mind before lingering on logger windows, and prefer a short delay if the stream doubles as contest or DX chase coverage.
Honest Limitations
- sBitx centric testing. The package targets the sBitx environment. Other Pi applications are plausible but not individually verified, and audio routing is the usual stumbling block.
- Shared CPU budget. Encoding competes with SDR processing on the same Pi 4. Aggressive 1080p settings can make the radio itself feel sluggish, which is worse than a soft looking stream.
- Network dependence. No uplink, no broadcast. Field sites with marginal cellular hotspots should rehearse at 480p and keep expectations modest.
- Stream key hygiene. A leaked key lets anyone broadcast to the channel. Rotate keys after shared or public configuration sessions.
- YouTube onboarding friction. First time live accounts face verification and roughly a 24 hour wait. Third party restreaming or embedding policies can also change without notice.
- No production features. There are no scenes, overlays, chat bots or multi camera cuts. It’s a screen plus audio pipe, and that focus is the point, but know what you’re buying into.
- RF environment realities. Keep transmit antennas, grounds and chokes sorted before adding streaming to the mix. RF in the shack that resets USB audio or upsets the Pi will now also take the broadcast down with it.
Why It Matters
The sBitx project, from Ashhar Farhan VU2ESE through HF Signals hardware to the volunteer developers keeping the software alive, has always been about ownership: a radio you can open, read, modify and repair. Pi Streamer extends that ownership to the audience. Instead of describing a waterfall over voice, you show it. Instead of claiming a filter sounds better, viewers hear it.
For clubs staring at aging attendance, for Elmers separated from their students by distance, and for homebrewers whose best work previously lived only in their own shacks, a free tool that puts the radio screen on YouTube with one dashboard deserves a place in the field kit. Download it, rehearse privately, then put your next operating night on the air twice: once on HF, once on the stream.
Sources and Further Reading
- Pi Streamer project page by VU3DXR
- Pi Streamer v1.8.1 download ZIP
- Pi Streamer demonstration on YouTube
- VU3DXR sBitx v3 review: The Linux SDR That Refuses to Be Boring
- HF Signals sBitx v3 product page
- sBitx manuals and how tos
- Original sBitx source by Ashhar Farhan VU2ESE
- Community sBitx development fork
- YouTube live encoder settings help
- YouTube Live dashboard
- FFmpeg capture and webcam device documentation
- FFmpeg project homepage
- GQRX software defined radio receiver
- WSJT-X weak signal communication software
- OpenWebRX open source web SDR receiver
73 de 9M2PJU

Post Comment