How to Use FreeBSD as a Media Server: A Lightweight, Rock-Solid Solution
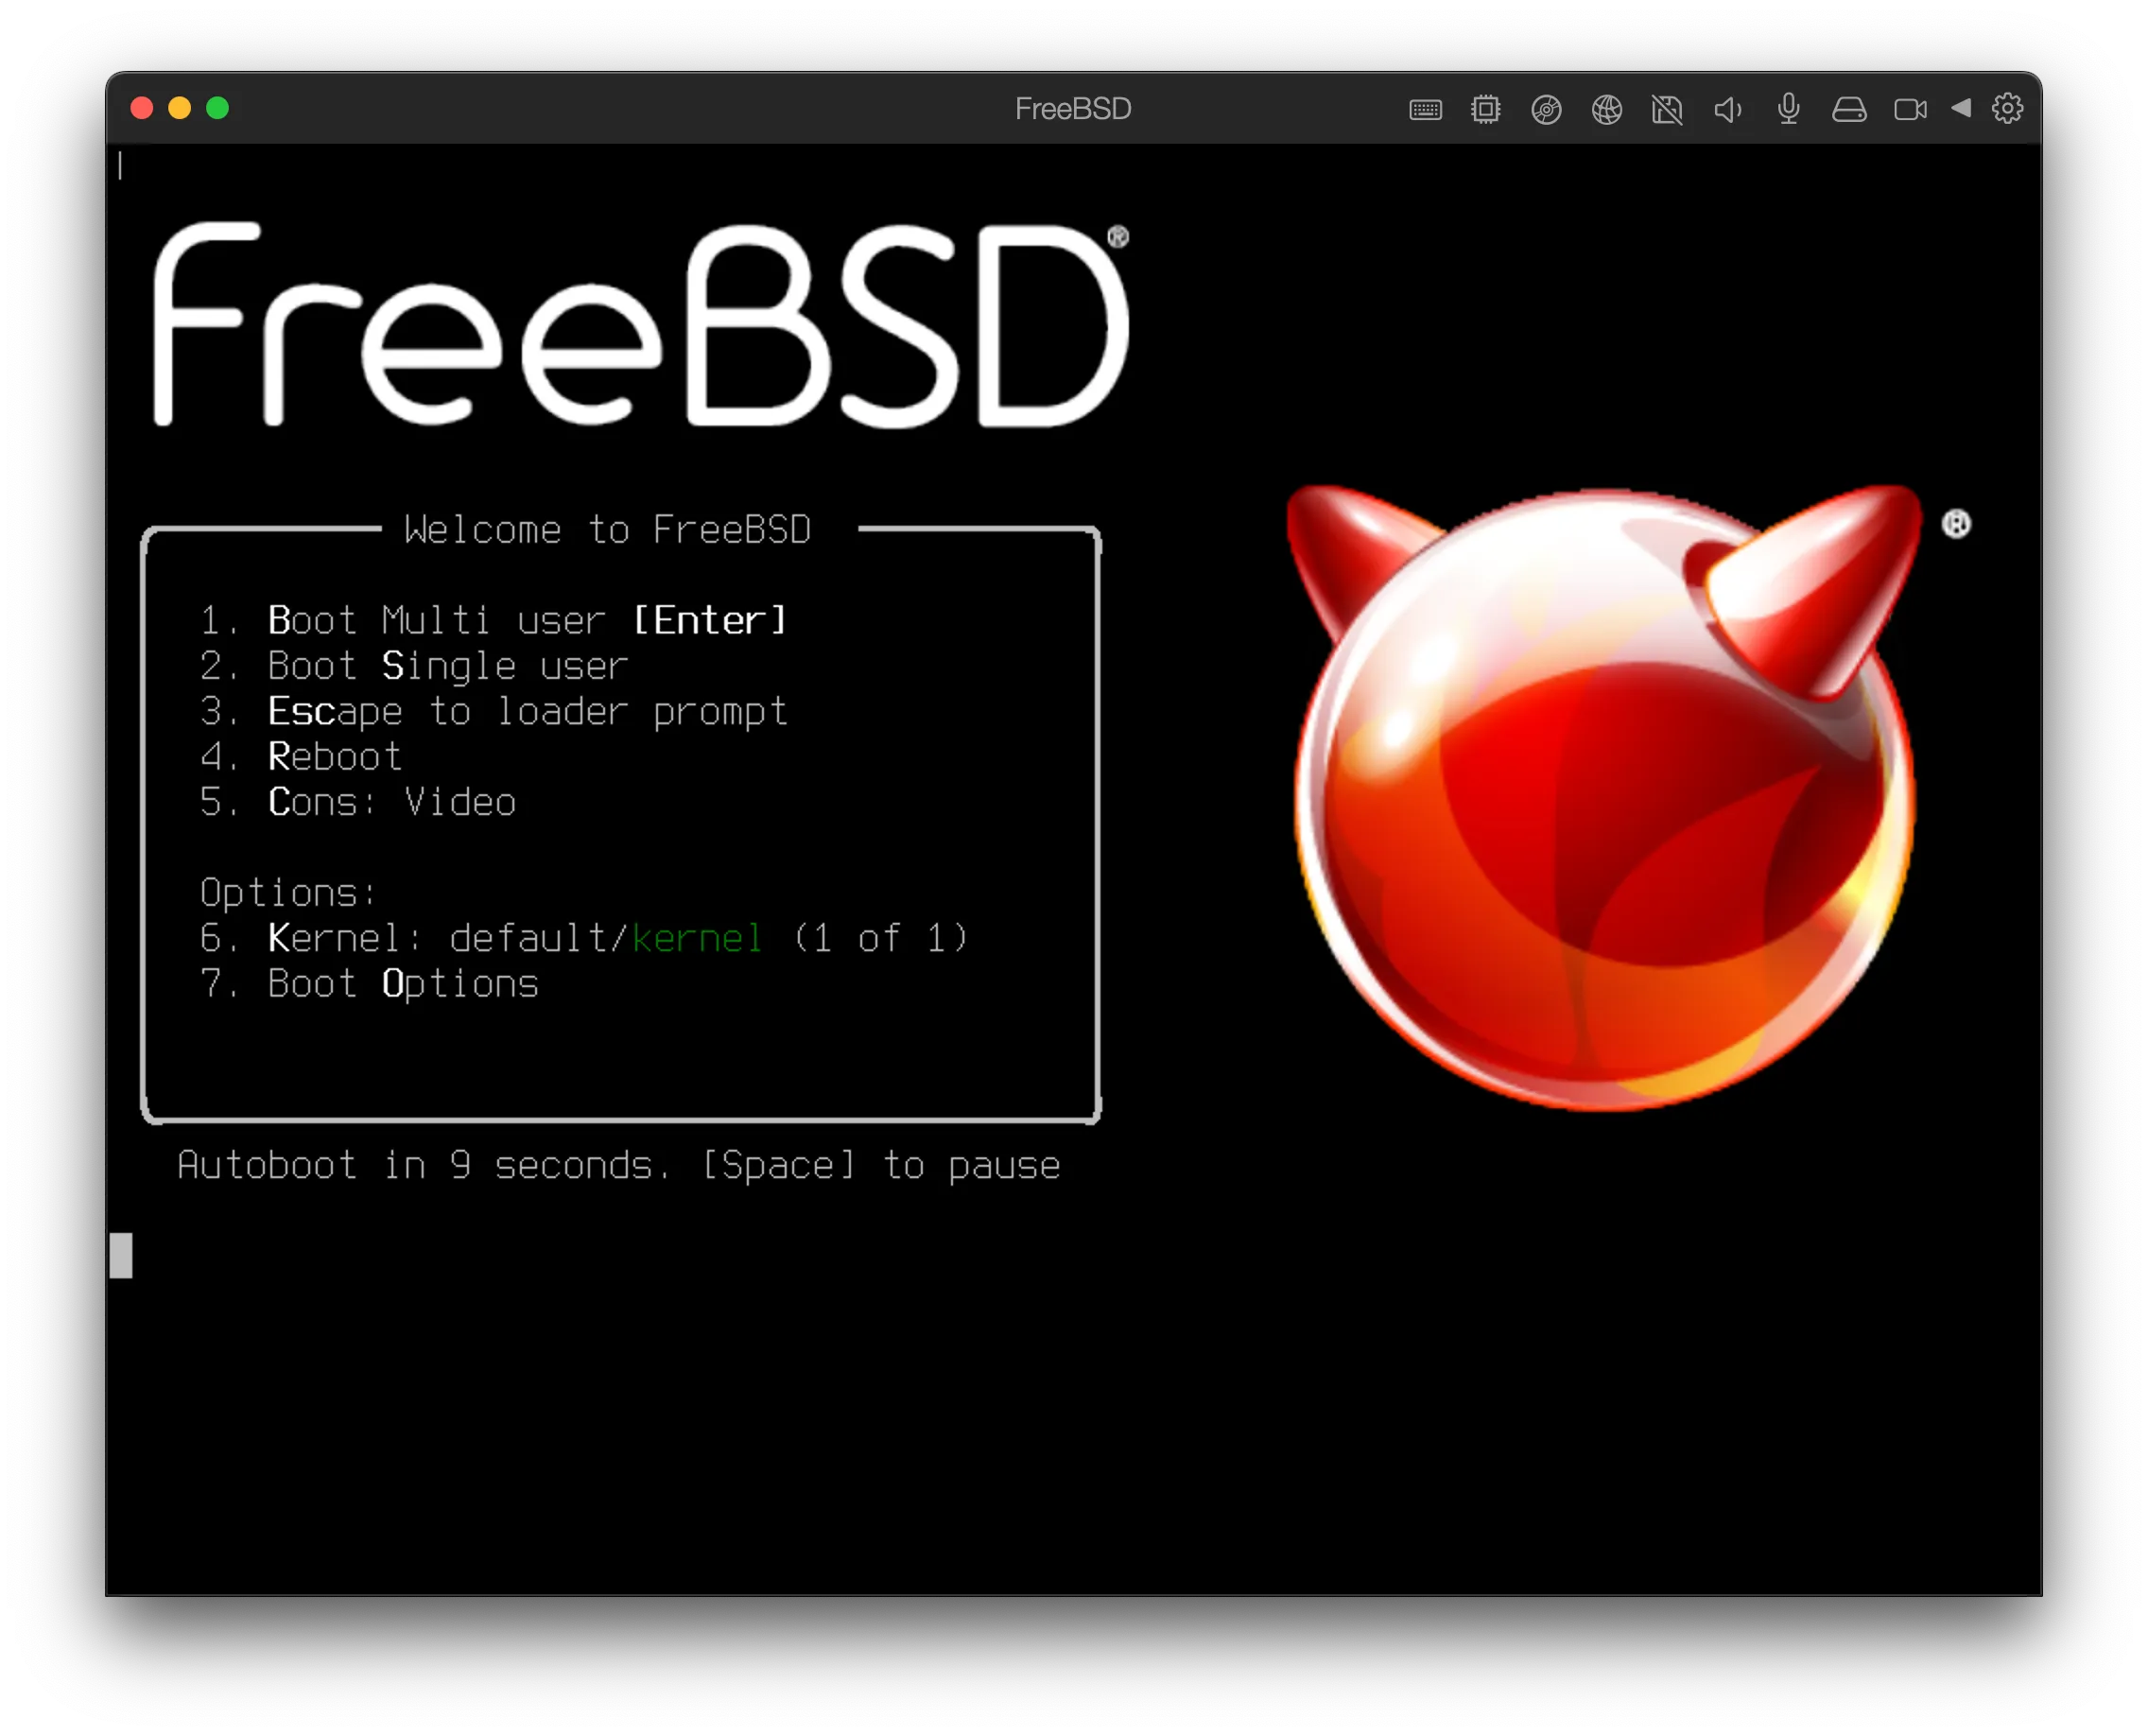
FreeBSD is a powerful and stable UNIX-like operating system renowned for its performance, security, and advanced networking features. While it’s widely used for servers and firewalls, it also makes an excellent choice for running a home media server. In this guide, I’ll walk you through how to set up FreeBSD as a media server from scratch.
Whether you’re streaming movies via Plex or Jellyfin, serving audio through DLNA, or just organizing your media over SMB/NFS, FreeBSD offers a clean and minimal platform to build on – free of bloat and with full control.
🧰 Prerequisites
- A spare computer or VM with at least:
- 2 CPU cores
- 4GB RAM (8GB+ recommended for transcoding)
- 100GB+ storage (depending on your media collection)
- Internet connection
- A basic understanding of terminal commands
🖥️ Step 1: Installing FreeBSD
- Download the ISO
- Visit https://www.freebsd.org/ and download the latest stable release (e.g. FreeBSD 14.0) ISO under the amd64 architecture.
- Create a Bootable USB
sudo dd if=FreeBSD-14.0-RELEASE-amd64-disc1.iso of=/dev/sdX bs=1M(Replace/dev/sdXwith your USB device) - Boot & Install
- Boot into the USB.
- Follow the guided install:
- Set hostname (e.g.
media-server) - Use ZFS as the filesystem for features like snapshots
- Enable
sshd,ntpd - Create a user (e.g.
piju) and add to thewheelgroup
- Set hostname (e.g.
- Reboot and login
🛠️ Step 2: Post-Install Setup
- Update the system
sudo freebsd-update fetch install sudo pkg update && sudo pkg upgrade - Install essential tools
sudo pkg install sudo nano tmux htop - Allow your user to use
sudoecho 'piju ALL=(ALL) NOPASSWD: ALL' | sudo tee -a /usr/local/etc/sudoers.d/piju
📺 Step 3: Install Media Server Software
Option 1: Plex Media Server (Proprietary)
sudo pkg install plexmediaserver
sudo sysrc plexmediaserver_enable=YES
sudo service plexmediaserver start
Access via browser:
http://<your_ip>:32400/web
Option 2: Jellyfin (Open Source)
Install from packagesite:
sudo pkg install jellyfin
sudo sysrc jellyfin_enable=YES
sudo service jellyfin start
Access via browser:
http://<your_ip>:8096
Option 3: Emby (Optional Alternative)
Download .txz package from https://emby.media/ and install manually.
📁 Step 4: Add Your Media
- Create media directories:
sudo mkdir -p /mnt/media/{movies,tv,music}
sudo chown -R media:media /mnt/media
- Mount storage (if using a separate drive):
Edit/etc/fstaband mount your drive (e.g.,/dev/ada1p2) to/mnt/media. - Point your media server (Jellyfin/Plex) to these directories in the web UI.
📡 Step 5: Optional – Enable Sharing Over Network
DLNA Server (MiniDLNA)
sudo pkg install minidlna
sudo sysrc minidlna_enable=YES
sudo service minidlna start
Edit /usr/local/etc/minidlna.conf to point to your media directories.
SMB (Samba)
sudo pkg install samba413
sudo sysrc samba_server_enable=YES
sudo service samba_server start
Configure /usr/local/etc/smb4.conf and add your user with smbpasswd -a piju.
🔐 Step 6: Secure Remote Access
- Set up SSH key-based login
- Change default SSH port (in
/etc/ssh/sshd_config) - Optionally install fail2ban (via ports or manually)
🧼 Bonus Tips
- Set up ZFS snapshots for backup and rollback
- Install transmission-daemon for torrents
- Monitor storage with
zpool listanddf -h - Use
smartmontoolsfor drive health checks
✅ Conclusion
FreeBSD may seem unconventional for a media server, but it provides unmatched control, performance, and security – with no background bloatware. Once you get familiar with its ecosystem, it becomes a solid and long-lasting foundation for any home server project.
If you prefer minimalism, stability, and advanced file systems like ZFS, FreeBSD is an excellent choice for your media streaming needs.


Post Comment