Guide to Neovim + LazyVim Setup
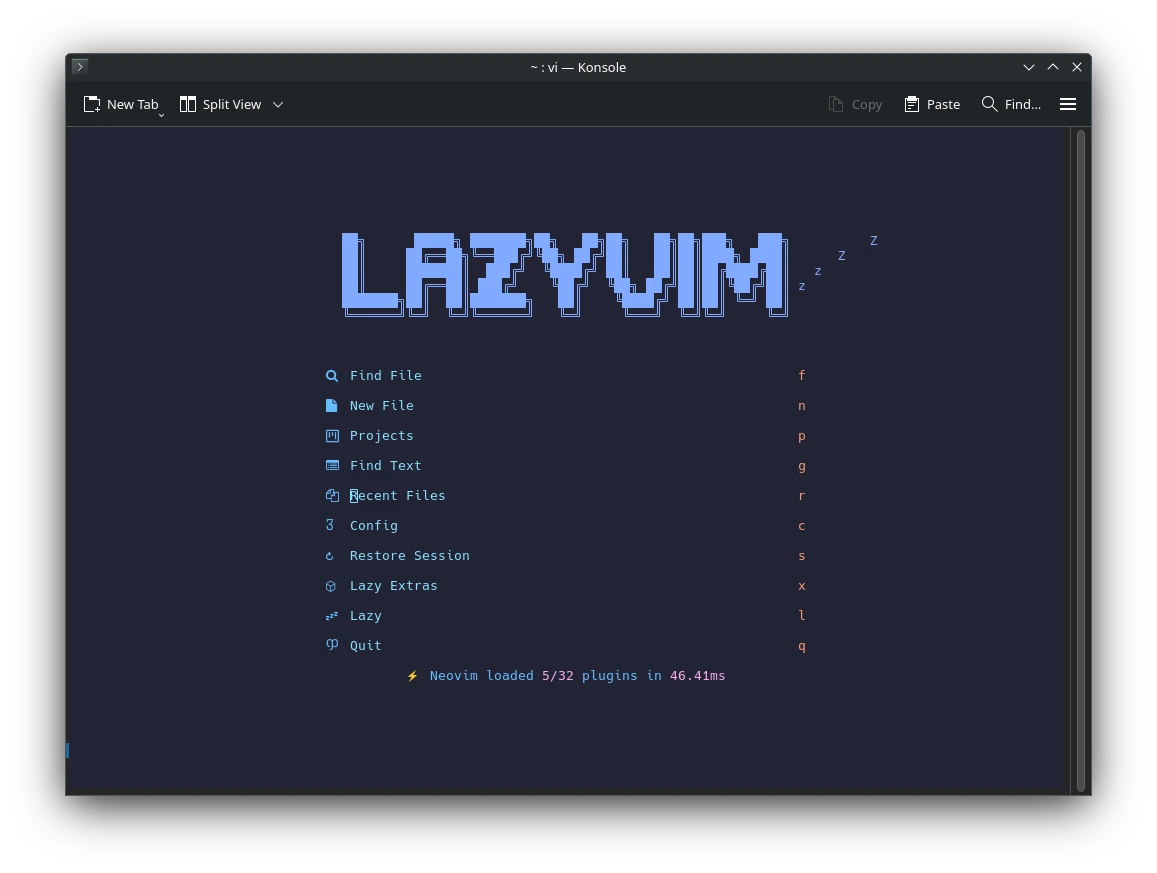
If you’re thinking of using Neovim as a modern, fast, and extensible text editor – but don’t want to configure everything from scratch – LazyVim can save you time and effort.
This guide walks you through installing Neovim, then setting up LazyVim – step by step, without skipping the basics.
🔧 Part 1: Install Neovim
LazyVim requires Neovim 0.9 or later, so first make sure you have the correct version.
✅ Step 1: Check if Neovim is installed
Run:
nvim --version
If Neovim is not found or the version is older than 0.9, install or upgrade it.
💻 Linux (Arch-based)
sudo pacman -S neovim
Or for bleeding-edge:
paru -S neovim-git
🍎 macOS (with Homebrew)
brew install neovim
Or upgrade:
brew upgrade neovim
🪟 Windows
Use scoop:
scoop install neovim
Or download prebuilt binaries from GitHub.
📦 Part 2: Install Git (if not already installed)
LazyVim uses Git to clone plugins. On Linux:
sudo pacman -S git      # Arch
sudo apt install git    # Debian/Ubuntu
🧠 Part 3: Install LazyVim
LazyVim is not a plugin – it’s a full Neovim configuration. You’ll replace your existing config with LazyVim’s starter template.
Step 1: Backup your current config (if any)
mv ~/.config/nvim ~/.config/nvim.bak
Step 2: Clone the LazyVim starter template
git clone https://github.com/LazyVim/starter ~/.config/nvim
This gives you a minimal, clean LazyVim-based configuration.
Step 3: Start Neovim
nvim
This will trigger the initial setup. LazyVim will automatically install:
- lazy.nvim plugin manager
- Language Server Protocol (LSP) support
- Autocomplete, Treesitter, statusline, fuzzy finder, file tree, and more
Let it finish the install before doing anything else.
📂 LazyVim File Structure Overview
Once installed, your config lives in:
~/.config/nvim/
├── init.lua             # Entry point
├── lua/
│   ├── config/          # Options and keybindings
│   ├── plugins/         # Add your own plugins here
│   └── lazyvim/         # Core LazyVim files
🛠 How to Add Plugins
Create a new file in lua/plugins/, like this:
-- ~/.config/nvim/lua/plugins/colorscheme.lua
return {
  "folke/tokyonight.nvim",
  priority = 1000,
  config = function()
    vim.cmd.colorscheme("tokyonight")
  end,
}
Then restart Neovim and run:
:Lazy sync
🧾 Summary
| Step | Command |
|---|---|
| Install Neovim (Arch) | sudo pacman -S neovim |
| Backup old config | mv ~/.config/nvim ~/.config/nvim.bak |
| Clone LazyVim starter | git clone https://github.com/LazyVim/starter ~/.config/nvim |
| Open Neovim | nvim |
🧪 Final Thoughts
If you’re looking to switch to Neovim but don’t want to build everything from scratch, LazyVim is a reliable starting point. It gives you a modern editing experience with sane defaults, and a structure that you can extend as you learn.
You don’t need to become a Vim wizard overnight – but LazyVim can help you get productive today and grow at your own pace.






Post Comment